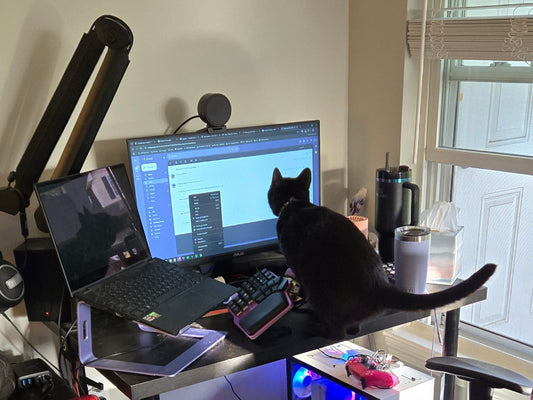
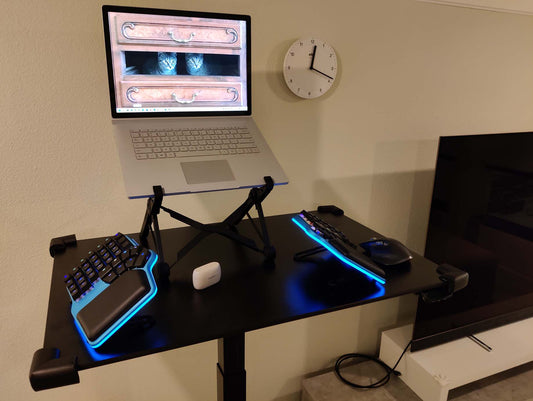
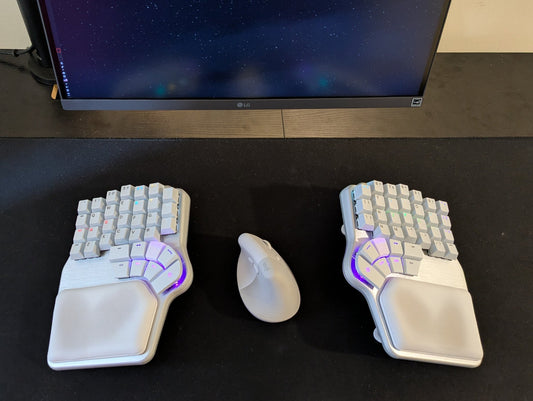
Today we’re going to “shine some light” on how we developed the underglow and backlight of this radiant beauty. The Dygma Defy.
As a company that has its roots in gaming, RGB has always been a key feature in our keyboards, and it’s not just for show!
The per-key backlight can help highlight specific keys, like arrows or shortcuts, and the underglow helps you instantly know which layer you’re on without even looking at the keyboard.
That’s why we wanted the Dygma Defy to have the best RGBW lighting, to accomplish the most accurate colors, period.
Underglow
Our first board, the Dygma Raise, used an ingenious pipe system that allowed light to travel from the LEDs placed on the PCB to every corner of the keyboard.
However, we knew this wouldn’t work for the Dygma Defy, since the Dygma Defy features a much more complex design with the addition of wireless and built-in tenting.
So we had to re-design it from scratch.

We envisioned the new underglow to be brighter and more evenly distributed with precise colors, which meant we needed RGBW LEDs instead of regular RGB.
Regular RGB struggle to represent a neutral white, as the color WHITE is a combination of the three RGB colors, and any imprecision leads to a bluish, reddish, or greenish white.
On the other hand, RGBW LEDs have an extra white bulb (hence the W) that makes them much more color-precise.

Finally, we wanted the underglow to be an optional extra, so it should be independent from the backlight of the keys.
First Concepts
Our first concept used a flexible L-shaped PCB placed around the perimeter of the keyboard, which increased the overall brightness of the underglow and left enough space in the base for the tenting legs.

But, there was a massive problem with this solution. Around the corners and near the thumbkeys, where the keyboard narrows, there wasn’t enough space.
With the first option gone, we considered what we called “PCB islands” which consisted of a series of PCBs with LED clusters - these were strategically placed in the gaps between the tenting legs.

These islands were a fascinating solution. But there were two concerning aspects:
- First, it was too complicated to assemble.
- And second, it was just too expensive, thus not commercially viable.
Then we thought - If you want each LED to have a different color, you need to address each one individually, requiring a bigger chip and more space and connections but since we didn’t have a lot of wiggle room, the next step was addressable LEDs.
The solution
Each addressable LED –also called ARGB or smart light– has a microcontroller of its own Which removes the need for an LED driver. They are much more expensive, but we decided to absorb the cost.
Removing the LED drivers helped solved the fitting issue. We could now place an ARGBW strip around the perimeter, making it much easier to have an evenly lit underglow.

However, we still needed to fine-tune the light distribution to avoid dark spots or burn spots.
We tried countless combinations of the amount, direction, and position of the LEDs to achieve the perfect lighting.
In the end, we settled on 53 side-mounted ARGBW LEDs on each half of the keyboard, surrounded by an ABS diffuser to help with light distribution.

As a bonus - we realized that the underglow PCB added rigidity to the edges of the keyboard, which prevented micro-movements on the legs and the subsequent wobble.
The solution? Add a fake plastic PCB to the keyboards without underglow so every buyer gets the same experience.
Backlight
Unlike with the underglow, we thought we could replicate the design on the Dygma Raise and call it a day. Spoiler alert: we couldn’t.
The Dygma Raise has reverse-mounted RGB LEDs, which means they are soldered from the bottom.
We thought we simply had to replace the LEDs with RGBW LEDs but reverse-mounted RGBW LEDs don’t exist, or at least not in size suitable for a keyboard.
Reverse-mounted LEDs have two advantages:
- They help prevent the switches from hitting and damaging the LEDs.
- And you only need to print the PCB from one side, making manufacturing more cost-effective.
Plus, you have to consider the added height of having LEDs on top of your PCB instead of underneath.
So, what were our options?
- We could give up on the W and take the L.
- Or try to engineer our way into using top-mounted RGBW LEDs.
You know damn well which option we chose.
The Solution
You see, even the thinnest top-mounted LEDs we could find were about half a millimeter thick, and we didn’t want the keyboard to be any taller.
That meant we needed to reduce the thickness of the only piece we could make room with: the main keyscanner PCB, even though the PCB was already pretty thin, only 1.6mm.

Nevertheless, we returned to the drawing board and managed to thin it to 1 mm. Now we had room for the LEDs without thickening the keyboard, and we prevented the bottom of the switches from hitting the LEDs. We even added a 0.6 mm felt layer for extra protection and sound-dampening.

This made the PCBs more expensive and a bit more complex to manufacture –they have circuits on both sides– but having RGBW LEDs is worth it 💃🏻

Developing the RGBW underglow and backlight of the Dygma Defy has been an intense journey. Still, it has taught us much about LEDs, plastic coloring, the assembly process, PCBs, and batteries.
If you have questions about this or any other parts of the keyboard, feel free to let us know in any of our socials!


