Discover the complexity behind creating the Defy keyboard - a task more intricate than crafting two standard keyboards. This isn't an exaggeration; it's a realization our firmware and electronics team highlighted during the keyboard's development.
But what's the reasoning behind it?
Beyond our dedication to preserving ergonomic features like the tenting kit, split design, and thumbkeys, one prominent challenge was communication.
Let's delve into this issue to gain a deeper understanding.
Understanding Keyboard Functionality: How Keyboards Work
When a key is pressed, the circuit beneath the switch closes. The key scanner interprets this signal, converts it into a keycode, and sends it to your computer, where the corresponding character appears on the screen.
 The process seems straightforward so far, but how does it change for split keyboards?
Get ready, things are about to get interesting.
These split keyboards have dual key scanner microcontrollers, one on each side. Additionally, a third chip functions as the main microcontroller, responsible for receiving key presses from both sides and sending the information to the computer.

This implies programming additional microcontrollers and adding complexity to communications.
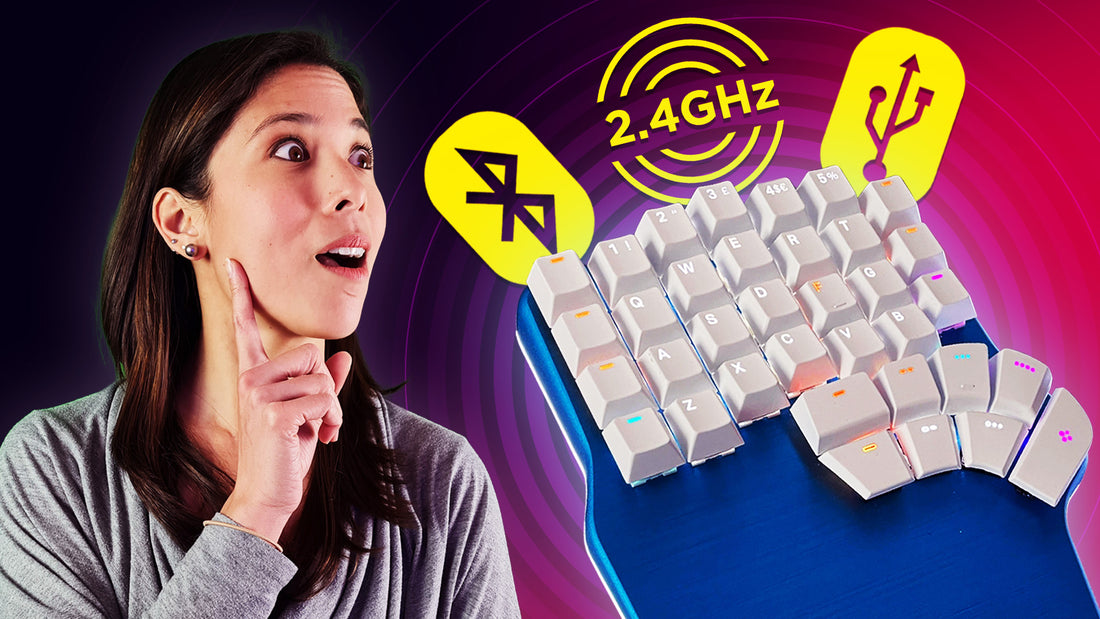
Wireless keyboards follow a similar pattern, but transmit keycodes via Bluetooth or RF instead of cables. On RF, the information goes to a receiver connected to your computer, while Bluetooth sends it directly to the computer (assuming it has Bluetooth).

In these keyboards, the right-side key scanner communicates via Bluetooth to the left-side main microcontroller. The main microcontroller then sends the corresponding keycode to the computer via Bluetooth or USB.
Neither of these keyboards offers low-latency RF or can be used entirely wired. The right side will always connect via Bluetooth to the left side.
We've chosen a complex route, creating a keyboard with microcontrollers on both sides capable of self-connection and computer communication.
Here's a quick overview of the communication process:
Wired mode: Both sides connect to the Neuron, which connects to the computer, similar to the Raise.

RF mode: The Neuron connects to the computer, while both sides connect to it via RF.

Bluetooth mode: Neuron under the left side, right side connects to left via RF, and Neuron connects to the keyboard via BT.

Chips, chips everywhere
How do we manage all of this?
With a multitude of chips—lots of them, actually.
-
Key scanner microcontrollers are on each side of the keyboard.
-
There are also two RF microcontrollers on each half for wireless communication with the Neuron.
-
Integrated circuits control batteries and LED lighting.
-
The Neuron contains the microcontroller responsible for the keyboard's operation.

For the design, we needed specific chips. The selection was based on reliability, cost-effectiveness, and availability during the chip shortage.
Our past experiences with microchip providers helped us secure what we needed.
After research, we chose the RP 2040 chip for key scanners, Nordic nRF52820 for RF gateways, and Nordic nRF52833 for the Neuron.

The complexity of the PCB design
From the electronics perspective, our main challenge was the size of the Neuron's PCB—the Super Neuron.
We aimed for a beautiful, light, pocket-sized design, making it tough to arrange all the components.

Just the 3 USB-C connectors alone consume space, so we designed the Neuron's PCB with four layers.

How does that work?
Imagine loading a dishwasher with various dishes, pans, and glasses of different shapes and sizes. Fitting everything can be complex, just like routing connections on a PCB.
Now imagine those dishes connected with wires, needing clear paths and no tangles. That's how PCB layers are routed.
The layers of the PCB are like organizing those dishes and wires to fit properly.
We've put effort into proper connections and avoiding interference between components.
Fixing any issues would lead to the next challenge.
Programming the Firmware
Programming all the chips and integrated circuits was a complex task.
We programmed each chip, from key scanners to RF gateway chips, for each mode: wired, RF, and Bluetooth.
Switching between modes had to be seamless without compromising user experience.
The Dygma Raise served as the basis. The challenge was adapting the firmware library, Kaleidoscope, for wireless communications.
Kaleidoscope was wired-only, so we rewrote parts of it for wireless.
In wired mode, the Neuron is the master of communication.
The key scanner automatically tells the Neuron about keypresses in wireless mode.
Even the boss (Neuron) follows new rules.
Protocols
Protocols are essential for devices to communicate effectively.
To ensure stable wireless connections, we used protocols like SPI, Link Protocol, and HID protocol.
Certification
Communications caused electromagnetic "noise".
Every component change increased emissions, requiring certification adjustments.
Adjustments in firmware and cables were made for certification.
After iterations, we passed certifications.
Making a split keyboard with three modes is challenging, but we're proud!
Next, manufacturing thousands of units, a story for another day!