Ever since we released the Tenting kit for the Dygma Raise, we’ve been constantly surprised by its success; they’ve been selling like hotcakes and your feedback has been great 😊
So, when it came to designing the Dygma Defy, we knew it had to include a tenting solution right off the bat. One that would not only live to the expectations set by the Raise but surpass them 🆙
And boy, were we set for a challenge.
The Objective
There were a few things we wanted to improve/add to the Defy tenting:
- Higher angles
- Integrated tenting solution to prevent extra height
- Lightweight
- Reverse tilting

The challenge
This many improvements naturally led to many challenges 🧗
Modifying the base to introduce the legs completely disrupted the underglow system. The tenting legs sat right in the middle of the light pipes, forcing us to completely redesign the underglow solution.

And even if we did find a solution to the underglow, we were still facing the mountain task of fitting the batteries, the Neuron, the electronics, and more… 😱
Lastly, the final product needed to be super intuitive and easy to use, all this while maintaining stability and sturdiness.
With these must-have features in mind and being aware of the dangers ahead, the team started to create the first prototypes 🖌️
First hypothesis: the clamp

These first iterations were based on a simple hypothesis: having a leg that slides through a rail with a clamp mechanism to lock it in place.
We tried different designs for the clamp to find the best user experience, including a very cool eccentric lever 🎚️

But in the end, all the prototypes presented similar issues:
- ❌ Due to space limitations, we couldn’t reach angles above 40º
- ❌ If you didn’t slide both legs into the same exact position, the keyboard would wobble.
- ❌ The locking mechanism was not strong enough for certain angles, so when you pressed it, the mechanism would slide.
Ok, we had established that the sliding mechanism held by pressure was not working, but what if the solution was in the opposite direction: a sliding rod on the legs that would clamp to fixed positions on the base?
Second hypothesis: the sliding rod
The first prototype was a wedge that slid through the legs and fixed its position with a screw on the top.

The good news was that thanks to the wedge and the fixed positions, the legs were much more stable 💪
But from a user’s perspective, this idea is a nightmare: it requires a screwdriver to change positions. Additionally, the wedge was not feasible, as it wouldn’t fit under the base. We needed a thinner rod.
The next iterations included a rod that slid into different preset positions along the leg and pressed against a wedge on the base.

- ✅ We really liked the ability to move the rod around the leg, offering more positions.
- ⏺ These solutions also provided more stability. However, as the rod is perpendicular to the leg, the pressure against the wedge is reduced as we get to higher angles.
To solve this problem, we tried substituting the wedge with fixed positions on the base. So now the rod can be inserted into different positions, increasing the stability.
This rod system was an advancement, but it didn’t solve the main problem: we still couldn’t go past 40º comfortably.
So, if something is not working, what do you do? Well, go all in, of course.
What if, instead of one rod, we used two? A shorter one for the lower angles and a longer rod for the steeper ones.
This improved the stability even further, but the problem with the rods and the angles persisted. We could now get up to 45º, but that’s it. We also complicated the design too much for the user, and remember, we wanted a smooth user experience.

At this point, we had completely run out of ideas… 🚨
We were stuck…
Although we didn’t love it, we decided to settle with it and give us some mental space. We focused our efforts on polishing the reverse tilting, which, quoting Manel, was a pain in the 🍑
Reverse Tilting
The reverse tilting had been clear for some time –you can see two small legs for two reverse tilting angles in early prototypes.
We soon realized that it only worked if it was placed in a very precise spot on the base. So then began the task of printing more than 50 different bases to find that sweet, sweet spot 🍩
The reverse tilting solution works in combination with one of the tenting legs. So we also had to finely adjust the angles of the legs to match the ones needed for the reverse tilt.
That was hours of fun. Because if a fraction of a millimeter was off on the angle selector, that changed the angle of the legs just enough to make the reverse tilting wobble 〰️
Luckily, after printing and testing innumerable angle selectors, we got it right. Only to have to redo it all again 🔃

Third hypothesis: no sliding
At this point, we had a tenting system with almost everything we wanted. It only had two drawbacks: it could “only” go up to 45º, and the user experience was not the most intuitive.
Luckily, even though we told the engineers not to think about the tenting kit, they did.
They realized that it was all a problem of force distribution, and that we already had a great solution for that: the tenting kit for the Raise 🎉

So, went back to a similar design, with a pivoting rod firmly inserted in the base.
However, we still had the problem of getting to higher angles.
To solve that, we added a second rod closer to the hinge, doubled the angle selector, and… it worked! 🥳

Suddenly, thanks to this idea and all the learnings from the previous iterations, all our problems seemed to go away. Though not immediately, as we still had to print hundreds of legs and rods and test them in a gazillion positions until we found the perfect combination –because it had to work with the reverse tilting too, remember?
But once that was solved, we cracked it.
The Solution

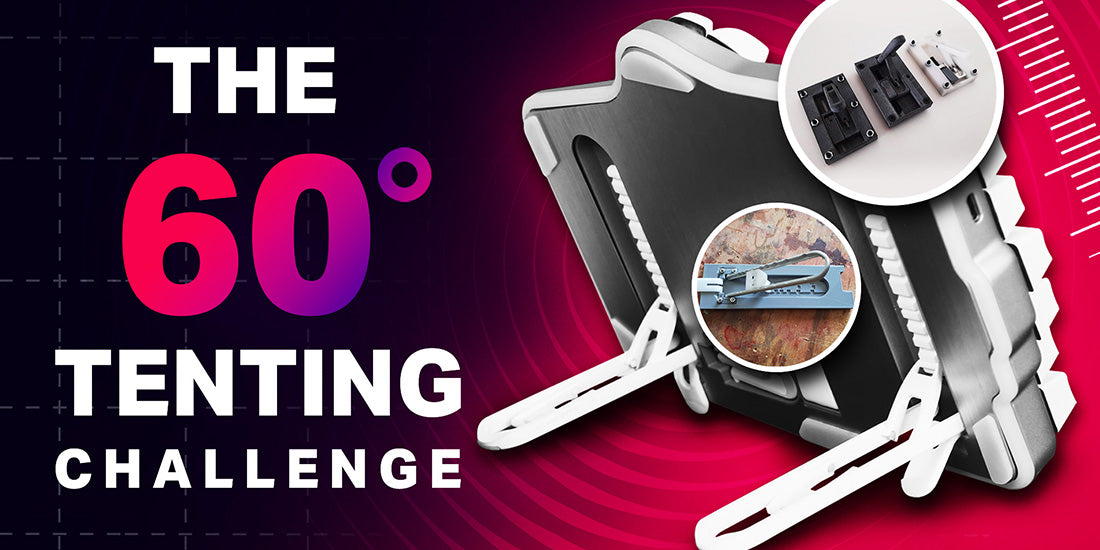
The new system gave the rod a very good angle for force distribution. It makes the kit very stable at any angle and allows us to reach steeper positions. From 0º up to the desired 60º with another seven different positions in between.
Plus, the user experience is much more intuitive. One rod closer to the hinge for the higher angles and another one further away for the lower angles. Easy peasy 🍋 squeezy
With all that, plus the reverse tilting, we checked all the boxes we wanted to check:
- ✅ A tenting that added no extra height at 0º
- ✅ More angle options to choose from, including higher tenting angles and reverse tilting
- ✅ A solution that is extremely sturdy and durable
- ✅ A very intuitive user experience
And on top of that, the design is sleek and defiant. It sits like a tall skyscraper 🌆

We have to give Manel and the design team a big shootout for such an accomplishment! 👏
Nevertheless, there’s still much work to do. This was the road until we found the ideal solution.
Now we need to prepare the design to manufacture it, which we’ve been doing for the last months, but that’s a story for another day.