How to Disassemble your
Dygma Raise
We believe everybody should have the right to repair, mod, and customize their keyboard how they wish.
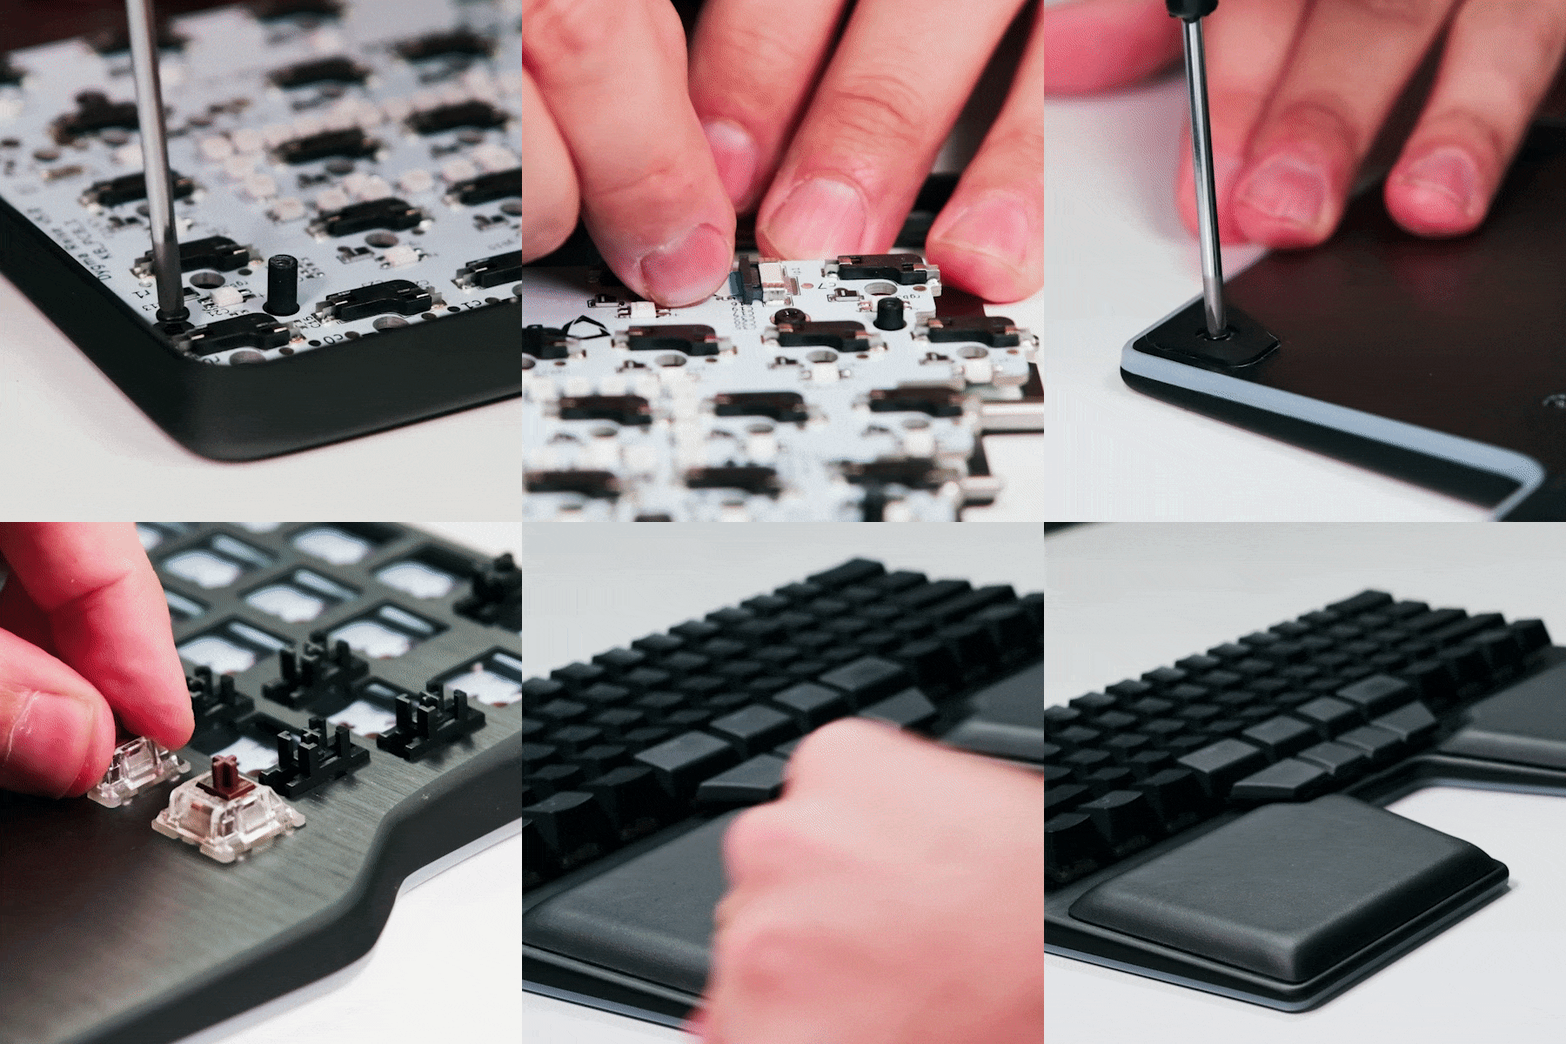
All you'll need is a philips screwdriver and the keycap/switch puller included in your enhancement kit.
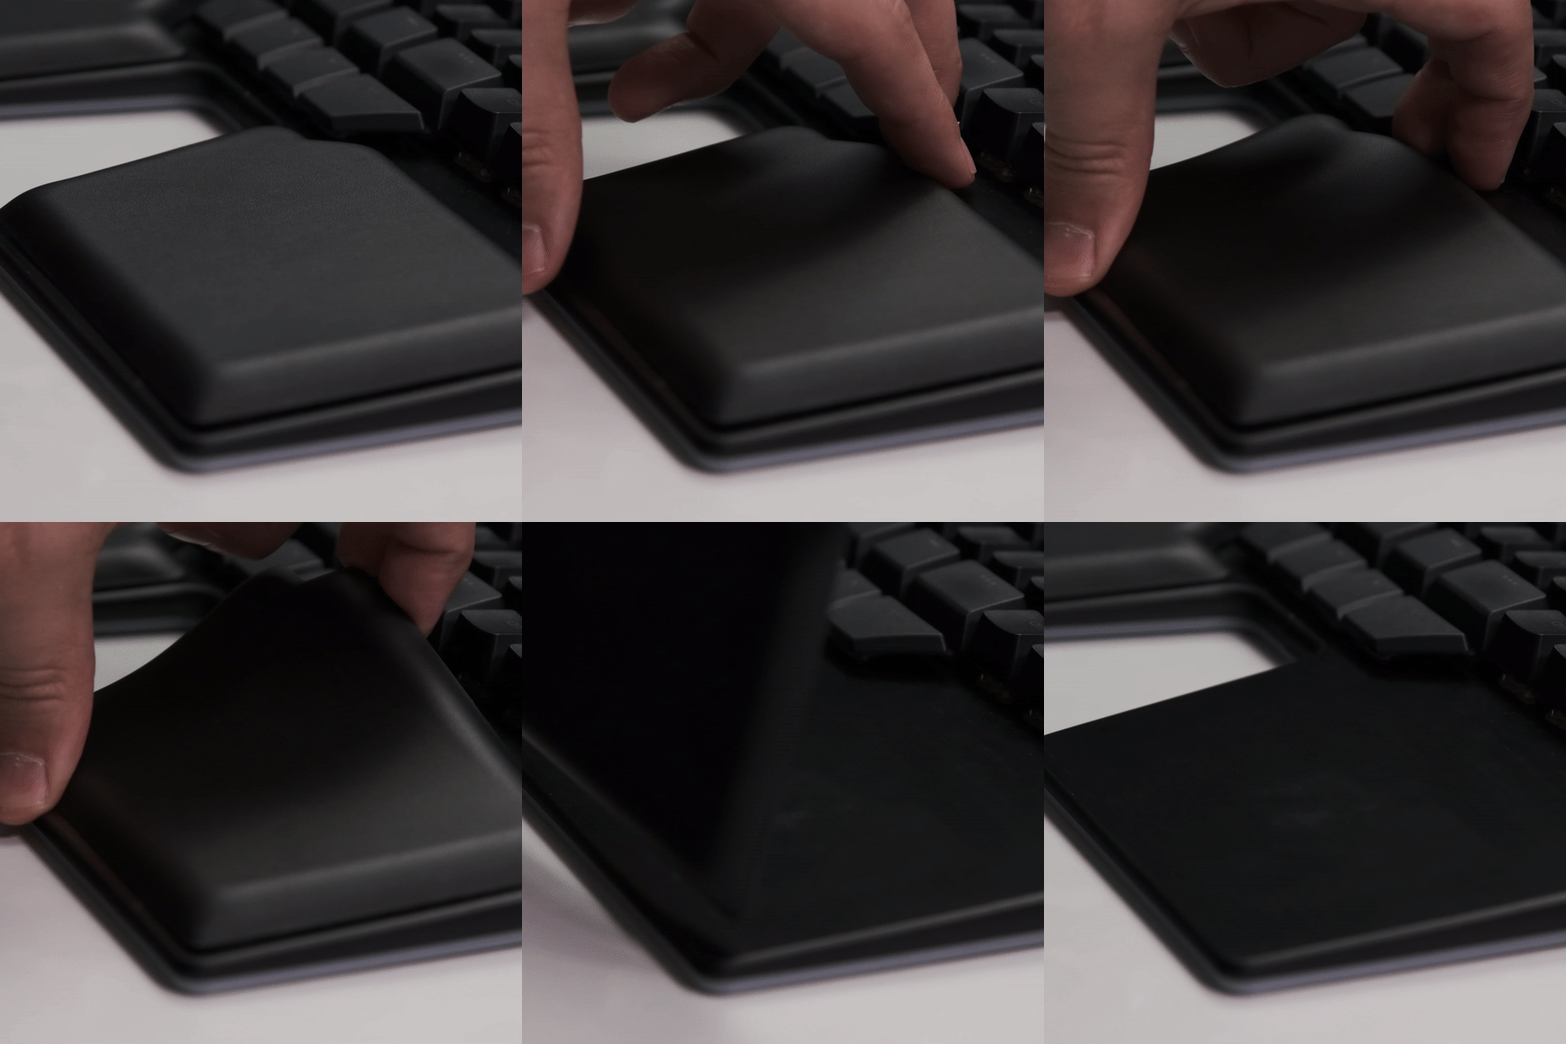
Step 1:
Remove Palm Pads
The great thing about our Palm Pads is that you can revive them at any point by washing them in cold water. So no need to worry about it losing its stickiness!
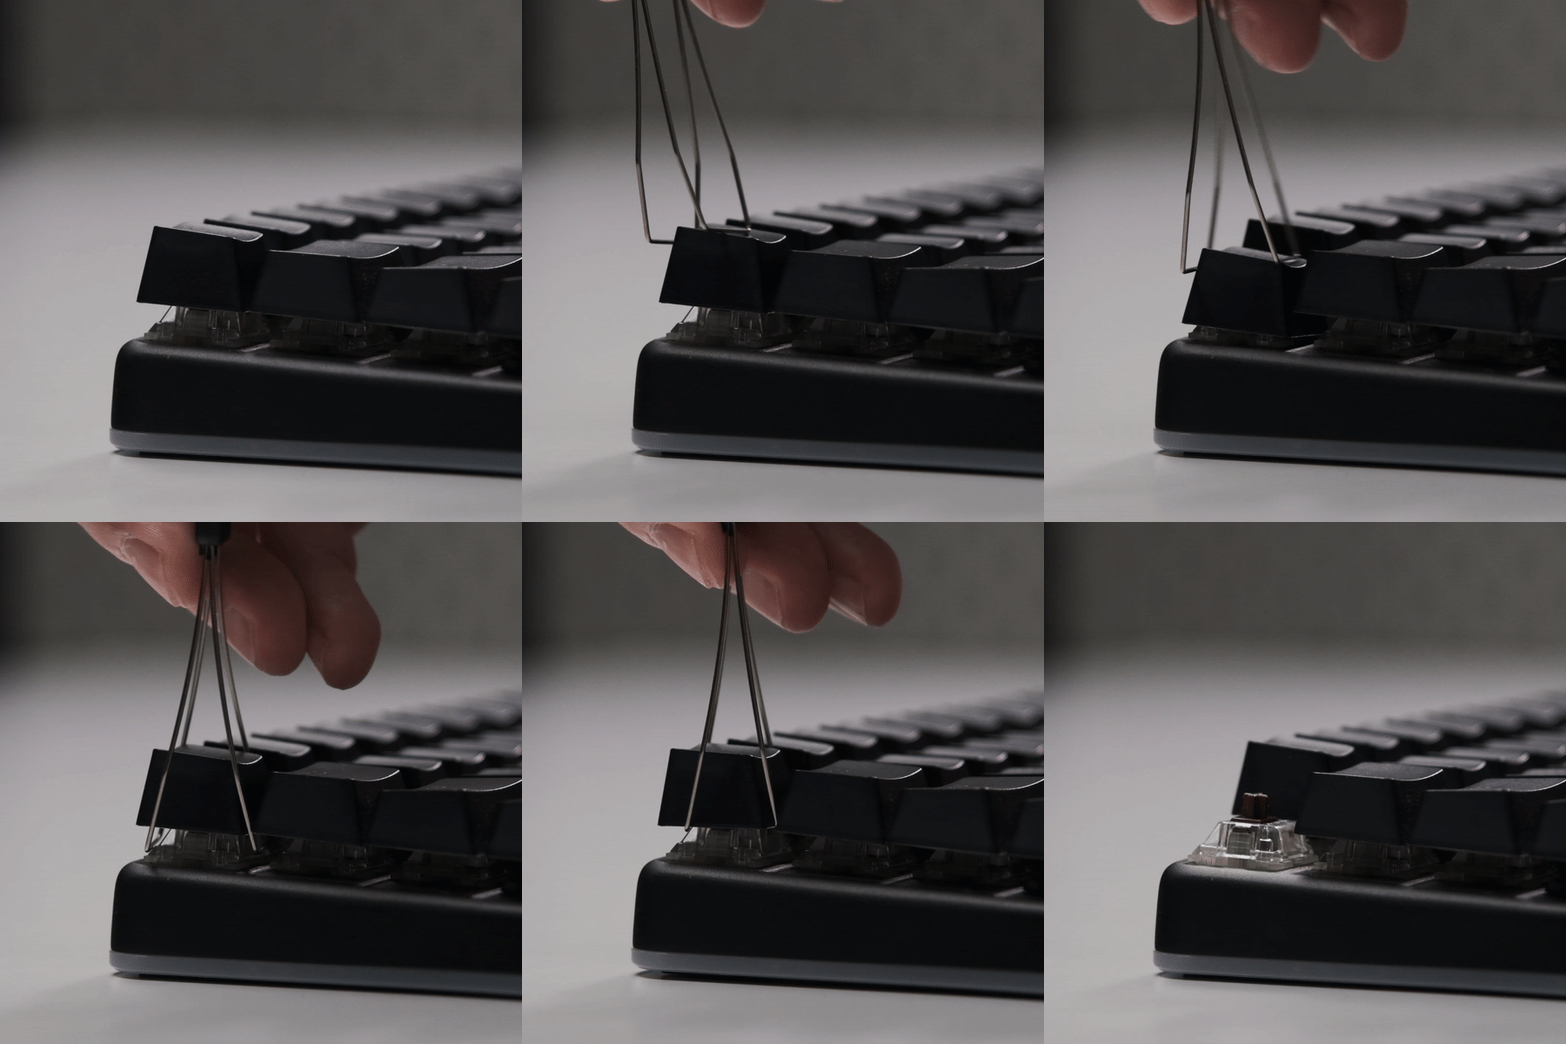
Step 2:
Remove Keycaps
This is the Puller's time to shine. Use the loop side to grip the keycaps from below, then gently pull them all out.
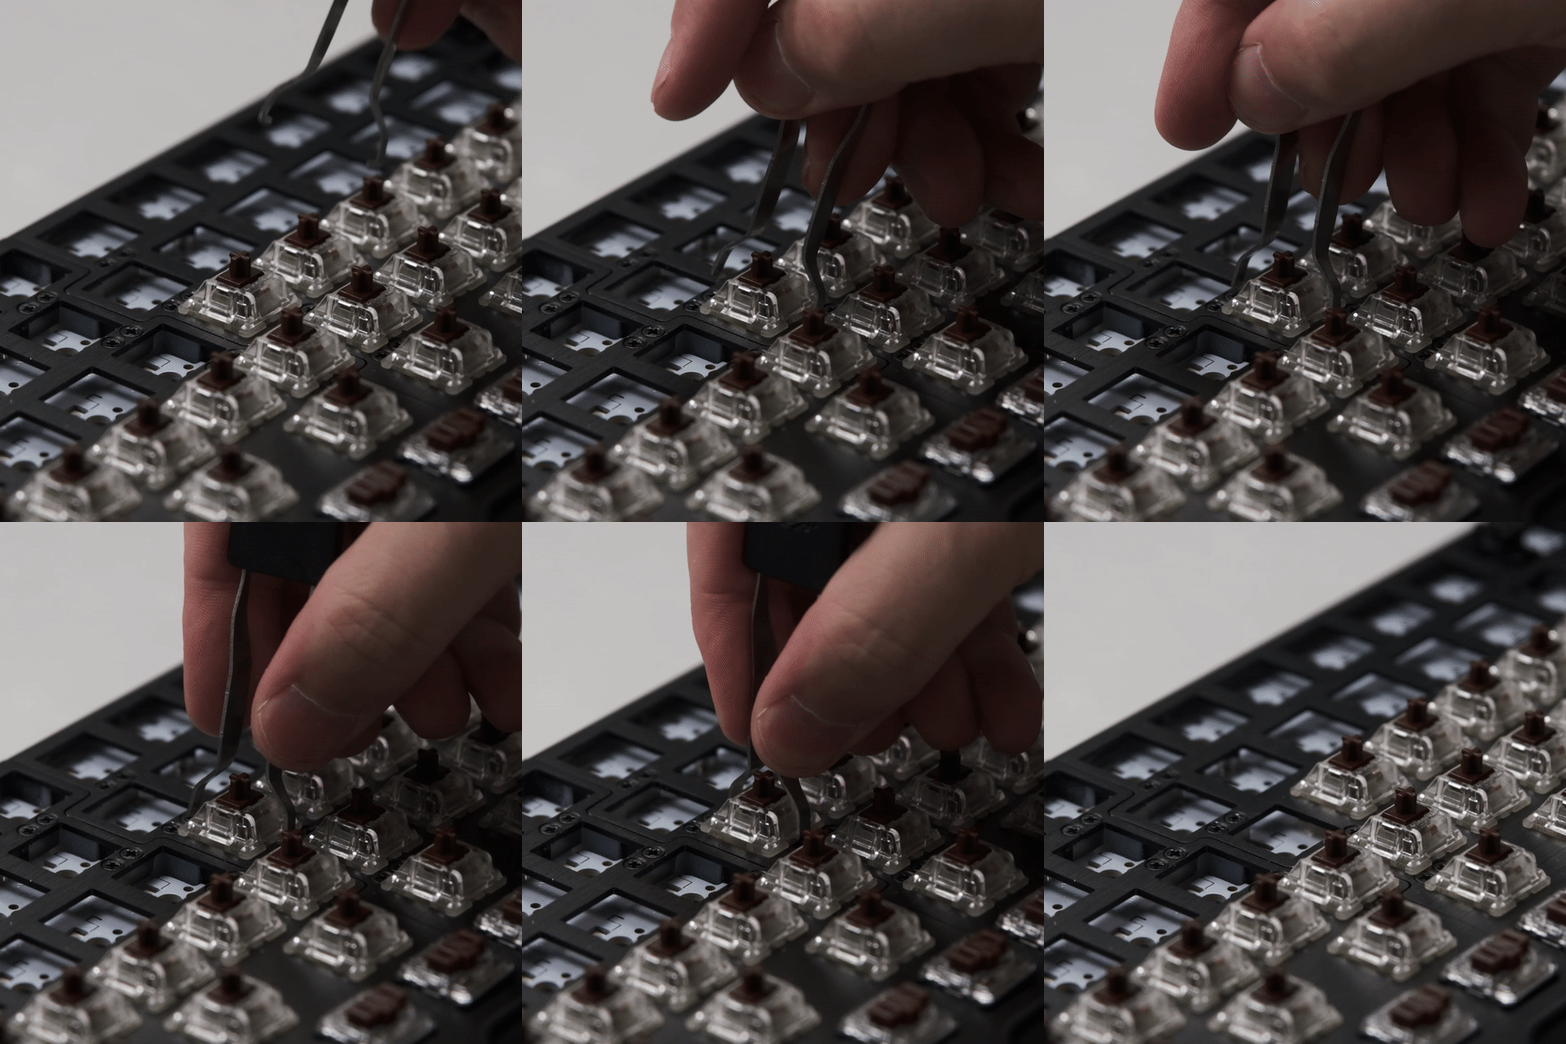
Step 3:
Remove switches
Use the other side of the puller to start working on the switches. Press the 2 clips on the top and bottom side of the switches with the hooks, then pull.
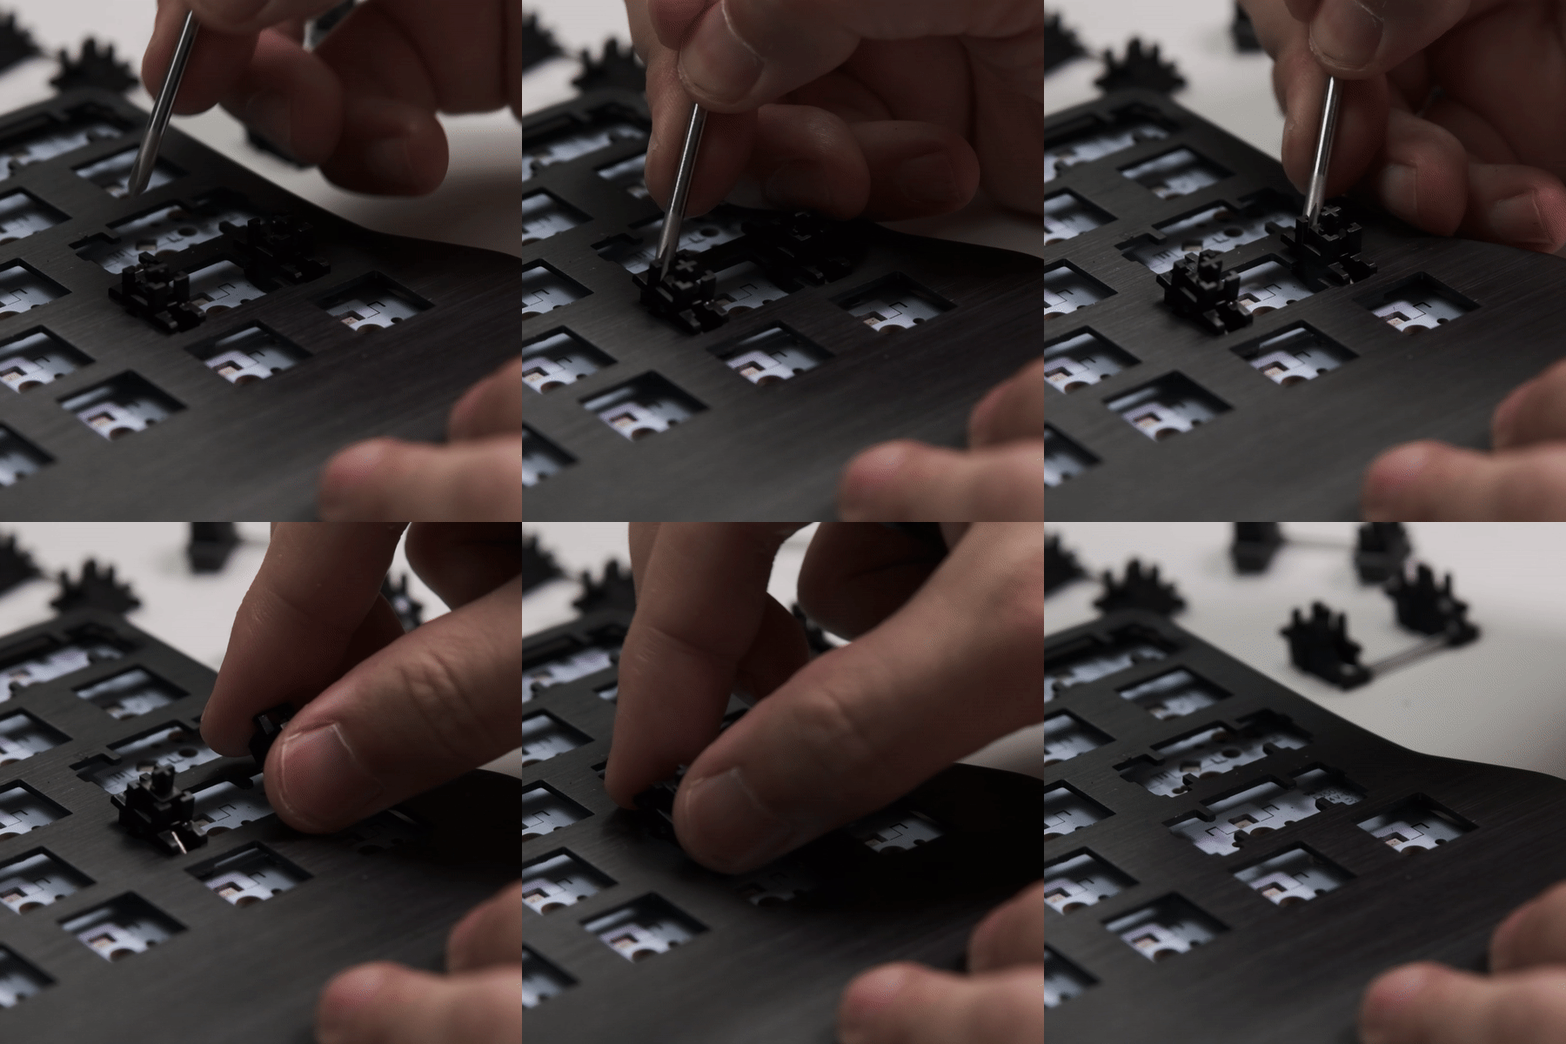
Step 4:
Remove Stabilizers
The stabilizers can be removed by pushing the clips on each side, then pulling the stabilizer out.
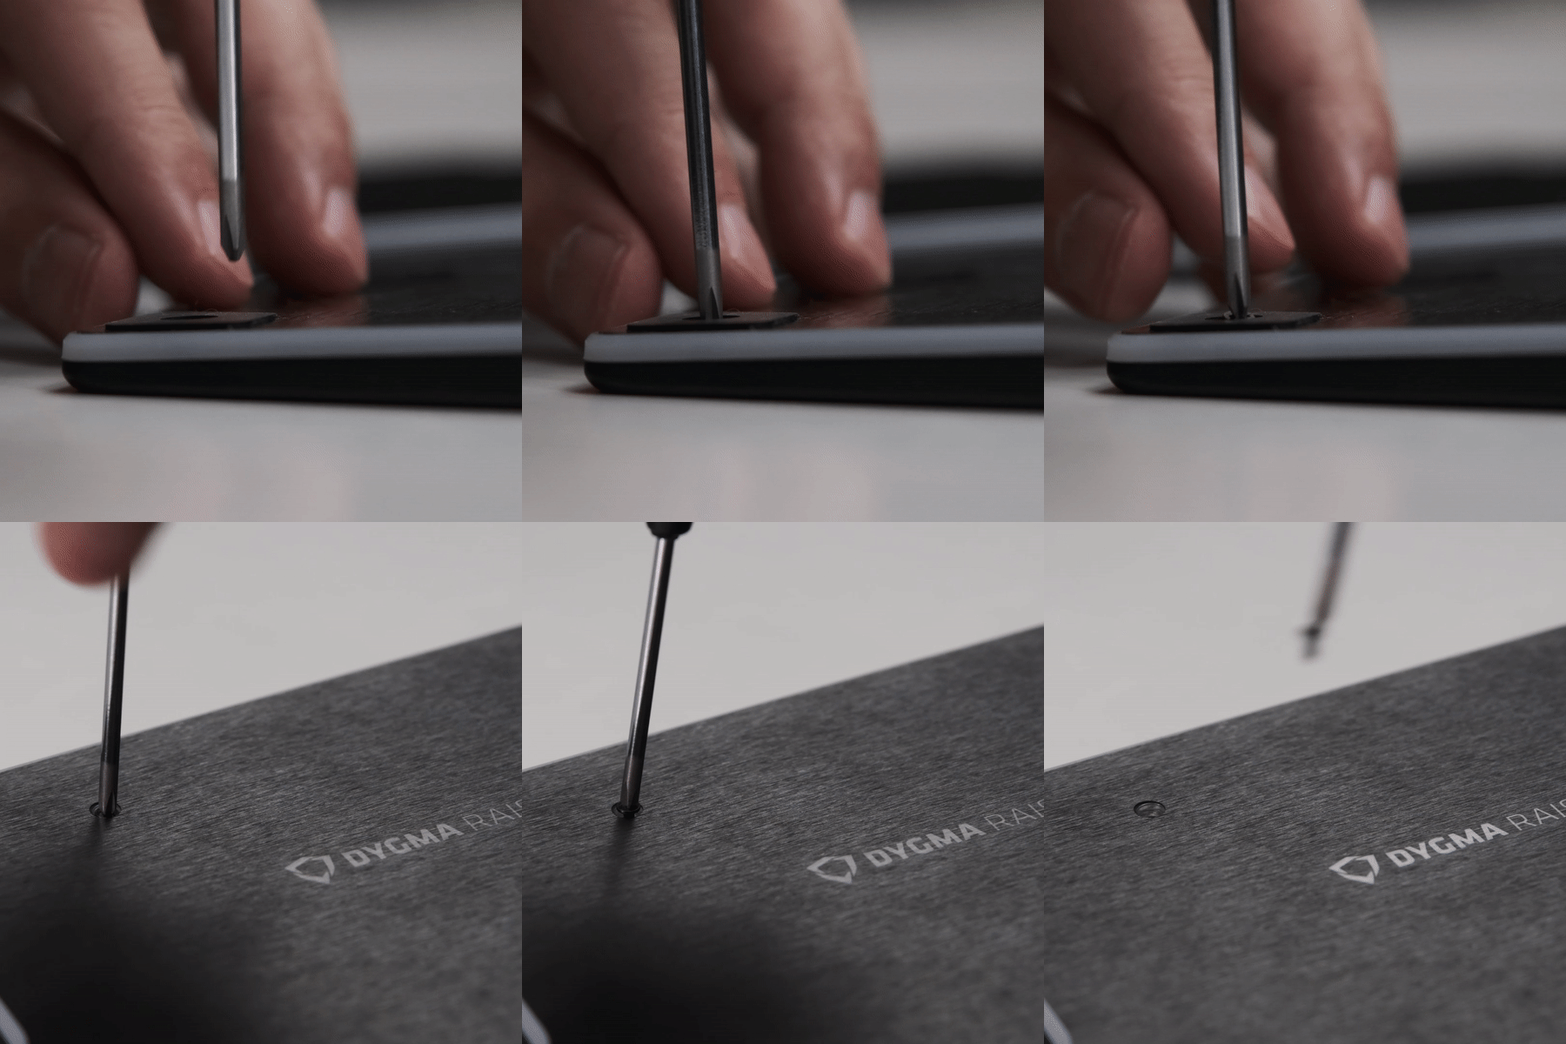
Step 5:
Unscrew the Back Plate
There's 7 screws on each side of the keyboard for this step. Remove all the screws and place them somewhere safe!
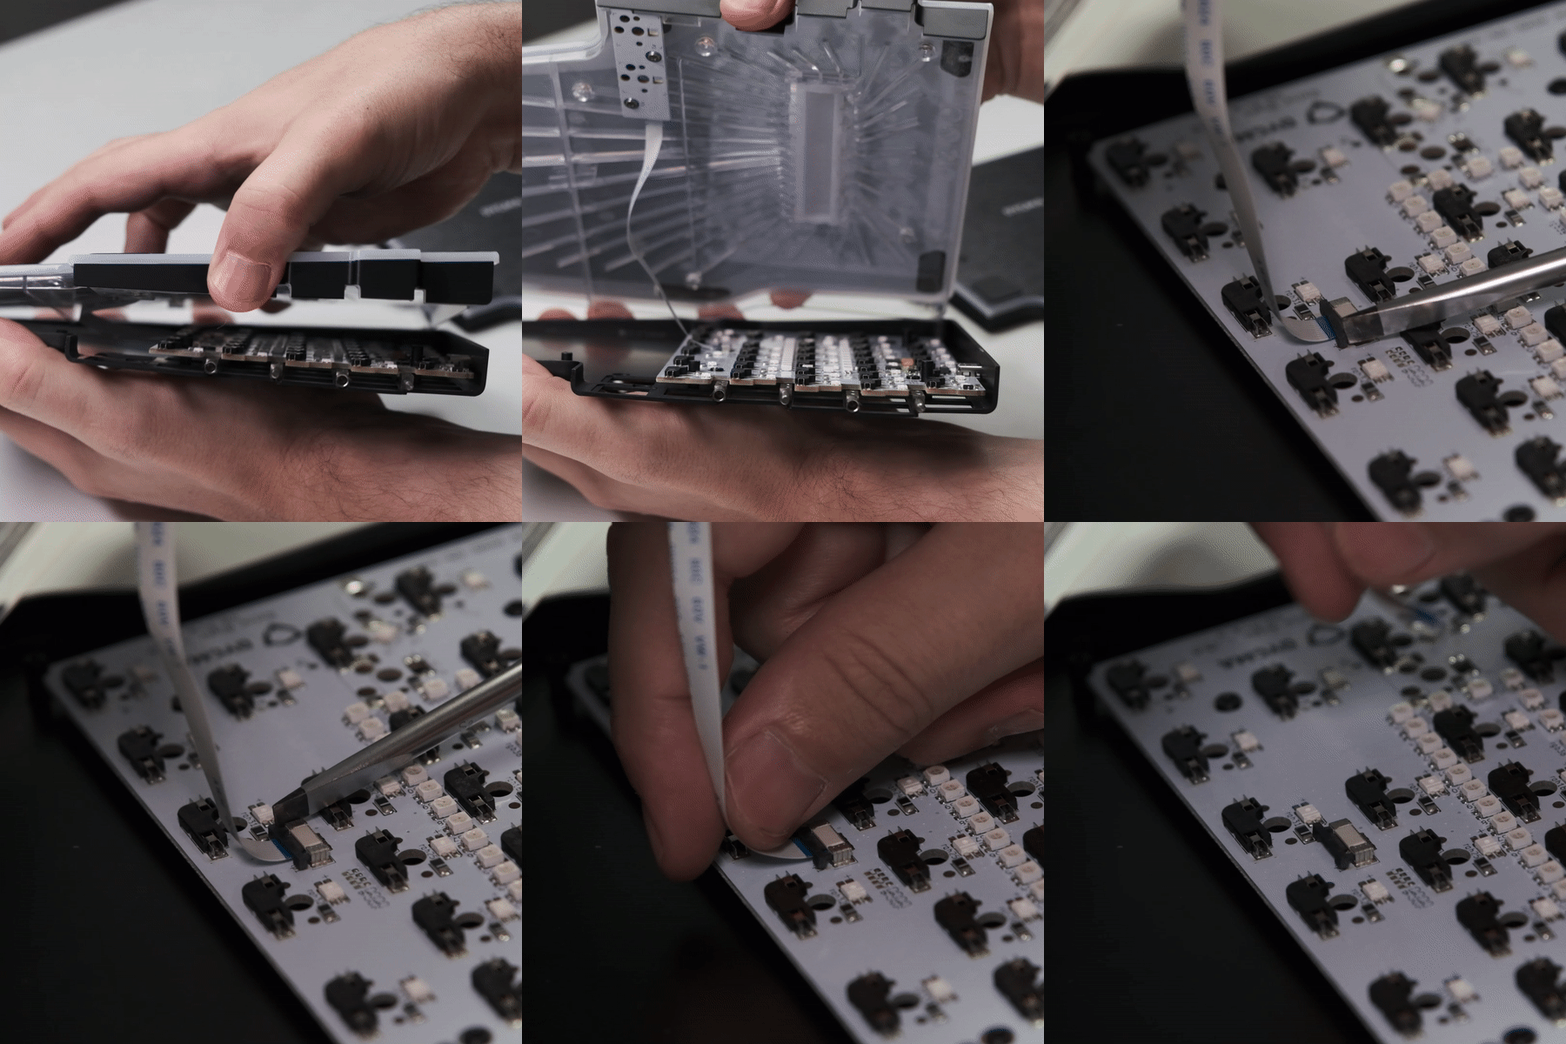
Step 6:
Open the keyboard
It's time to open up the Raise. Lift the back plate from the top plate carefully, then use a screwdriver to gently push the tabs holding the PCB cable in place - then pull the cable out.
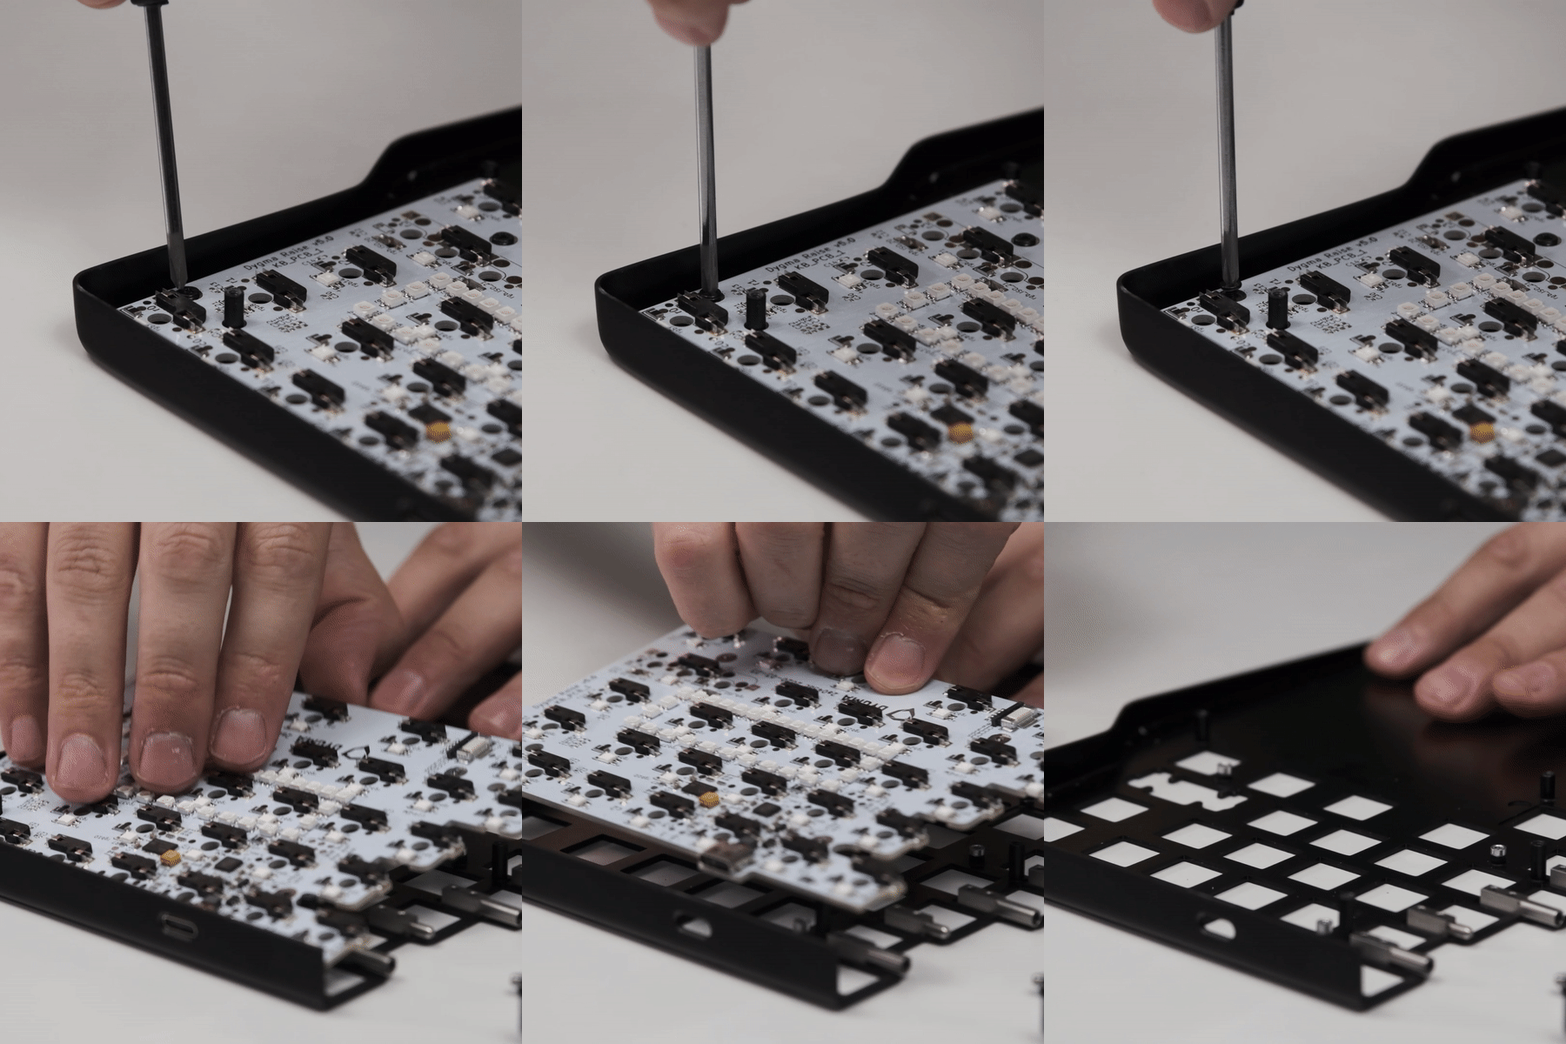
Step 7:
Unscrew the PCBs
Each PCB has 4 screws. Remove them and lift the PCBs from the top plate. Make sure to place these somewhere soft and safe!
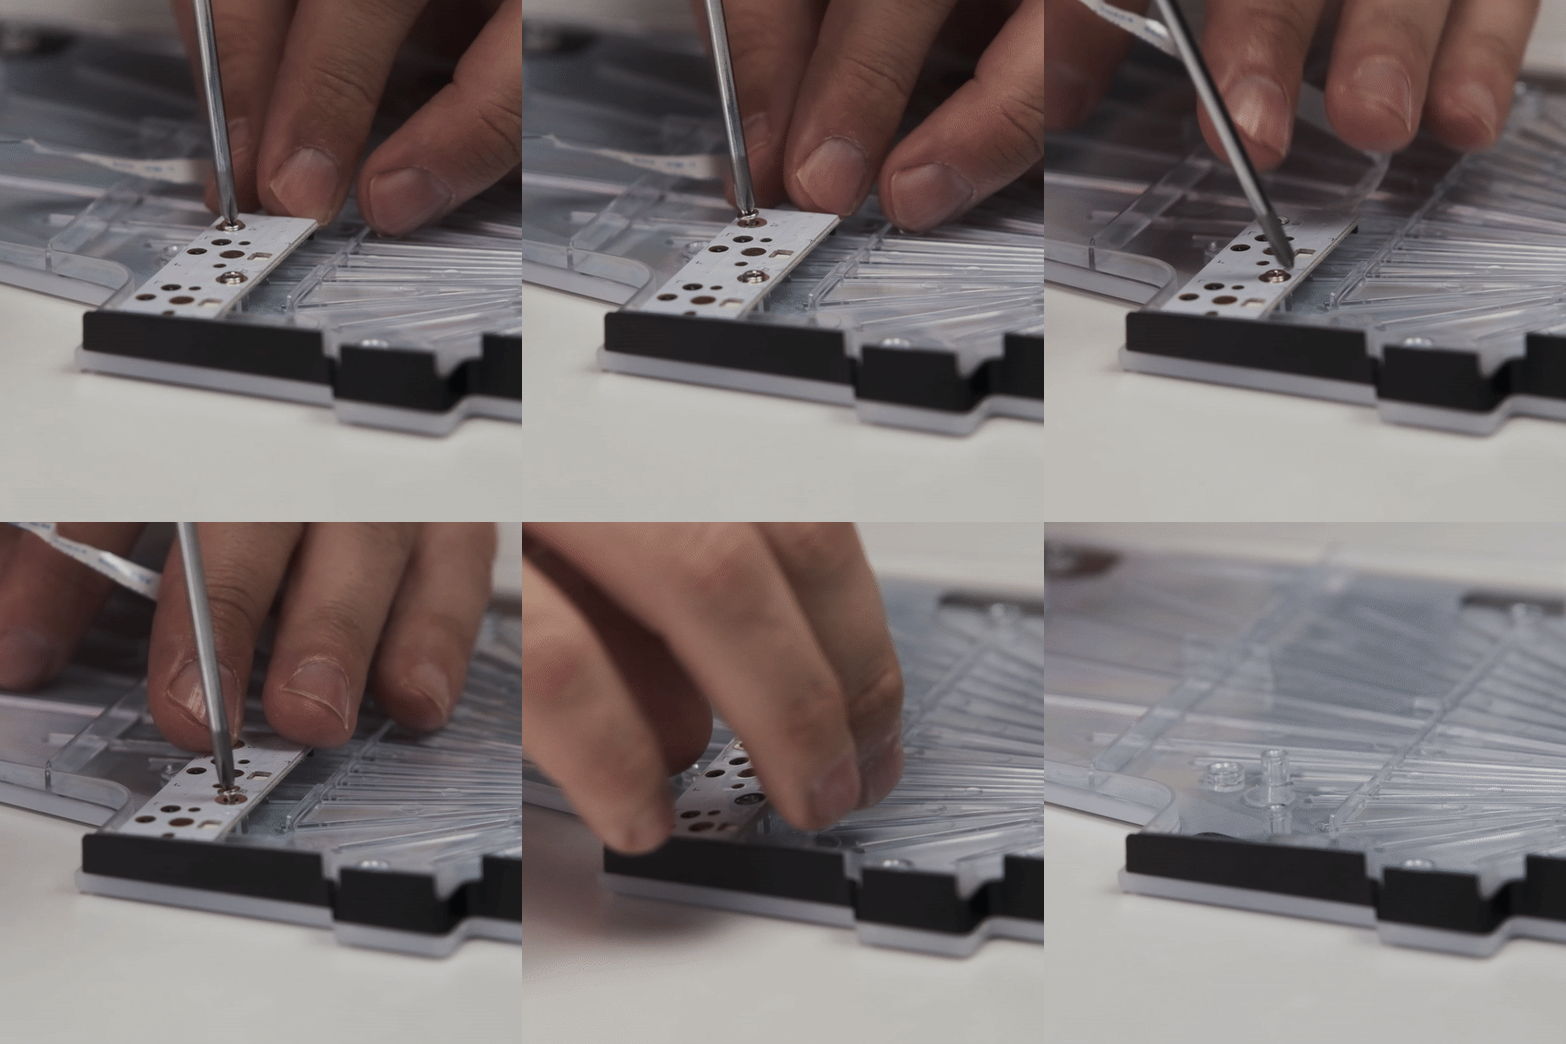
Step 8:
Unscrew low-profile PCBs
Lastly, you'll find a smaller, low-profile PCB attached to the each side of the base. Unscrew the 2 screws to remove it.
Admire your disassembled keyboard in all its glory!
Remember that opening your Dygma Raise won’t void your warranty.
If you want to learn more about the Dygma Raise components, watch this video 👇
Step 9:
Reassemble and enjoy this engineering masterpiece
Reverse all the steps above to put your Raise back together in no time!
Need help disassembling your Raise?
Head over to our help center or contact us if you don’t find a solution to your problem
Pimp your Raise
-
Example product title
Example product title
Vendor:Vendor- Regular price
- $19.99
- Regular price
- Sale price
- $19.99
-
- Unit price
- per
-
Example product title
Example product title
Vendor:Vendor- Regular price
- $19.99
- Regular price
- Sale price
- $19.99
-
- Unit price
- per
-
Example product title
Example product title
Vendor:Vendor- Regular price
- $19.99
- Regular price
- Sale price
- $19.99
-
- Unit price
- per
-
Example product title
Example product title
Vendor:Vendor- Regular price
- $19.99
- Regular price
- Sale price
- $19.99
-
- Unit price
- per


