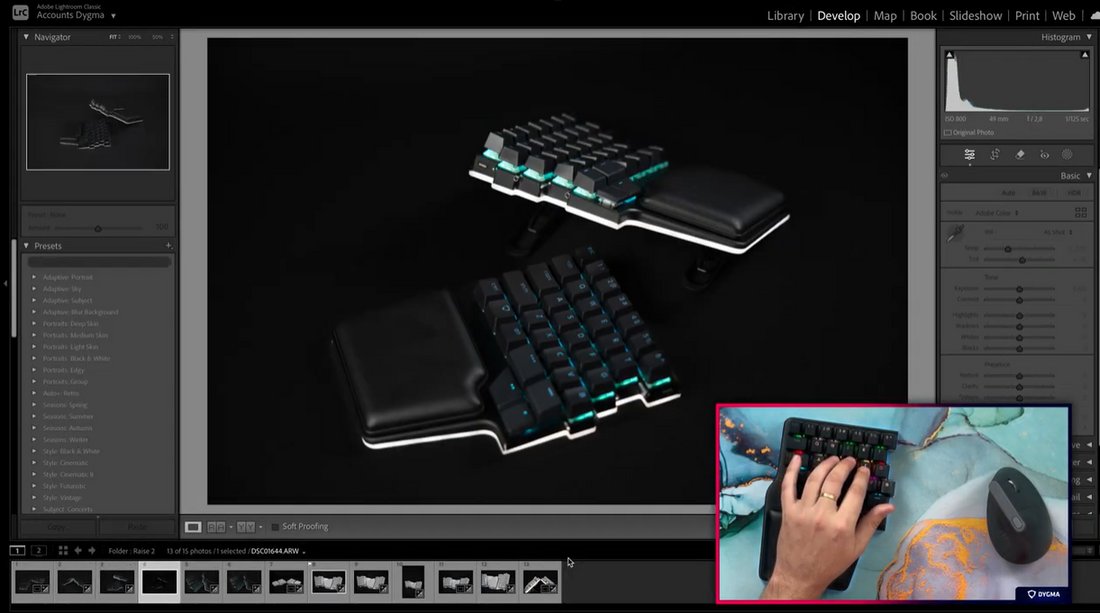
If you work with Lightroom, I'm sure you've faced this problem: You're using your mouse for everything, which feels really slow, and when you try to use shortcuts on your keyboard, they make no sense or require you to press multiple keys, and you have to keep moving your right hand back and forth from the mouse constantly.
What if I told you you could turn your keyboard into a custom macro pad where everything that you need is one keypress away, exactly where it makes sense for you and your workflow?
The advantages of a Macro Pad
So for example, in Lightroom, the arrows are ideal for navigating through pictures, but the moment I want to edit something, I need to move my hand back to the mouse.
It would be great if I could have the arrow keys in my left hand, let's say on S and F, to move through my gallery.
Or what if instead of pressing SHIFT+CMD+C to copy a picture's settings and then pressing SHIFT+CMD+V to paste them, you could just press C and then V?

It sounds like a dream, but that's precisely what you can do with a programmable keyboard. Until recently, programmability was a feature that was mostly exclusive to ergonomic keyboards, but nowadays, many mechanical keyboards that cost around 100 USD are programmable, too, like multiple Keychrons models or the popular Nuphy75.
So, to help us explore all the possibilities, we are going to share with you how we transformed our keyboard into a Lightroom macro pad.
By the way, if you want to see an example, Miquel will show to you how he has transformed his keyboard into a Lightroom macro pad in this week's video, so make sure you watch it! 😉
How to create our Lightroom Macro Pad
To turn your keyboard into a Lightroom macro pad, you're gonna need a programmable keyboard. For this example, we'll use the Dygma Raise 2.

- Open the software, which for the Dygma Keyboards, it's Bazecor.
- Create a new layer and call it Lightroom
- Add a key to access the new layer (Lock 4)
- And a key to go back to the base layer (Lock 1)
- Now, let's customize the new layer.

You can start easily by remapping keys. For example, let's add the arrow keys and the + and - functions. See, easy. Let's add the rest of the normal keys.
Then you can add shortcuts. Just select the key and add your desired modifiers. Let's do C+CMD+Shift, which is "copy settings" on a Mac.
Now, let's move to macros, which are great for things that don't have shortcuts. With our software, you can create them by adding text, recording them, or manually adding the keystrokes one by one.

Here you can see the macro that Miquel used to activate Red Eye Mode. CTRL+F2 to access the menu, T to move to tools, three down and enter.
Once you have created a macro, add them to wherever you want on your macro pad.
Finally, let's see how you can create cool keys that activate a different function if you tap, hold or double-tap them. We call them Superkeys. Go to the superkeys menu and create as many as you need. Superkeys can be normal keys, shortcuts, mouse keys or even macros.

Once you have created them, assign them to where you want them on your macro pad. Ok, the layout of the macro pad is ready, but it looks a little bit dull. Let's add some color.
Head to the Color Editor and assign the colors to the keys as you like. You can create your own palette for your macro board. We always recommend that the colors have some kind of meaning to the function (like Green for + and Red for –). That will help you learn the layout. Press save one last time, and you're done! Your lightroom macro pad is ready.

Can all keyboards become a Macro Pad?
Please bear in mind that not all programmable keyboards have all these functionalities. For example, the cheapest ones, like the Keychron or Nuphy75, don't have Superkeys (also known as Tap Dance) or per-key RGB, and the number of custom macro pads you can have is limited.

Other more advanced keyboards, such as the Moonlander, Voyager or Glove80, have different limitations. The Moonlander and Voyager, for example, have macros limited to 5 keypresses.

The Glove 80's software, on the other hand, requires custom code to configure per-key RGB.
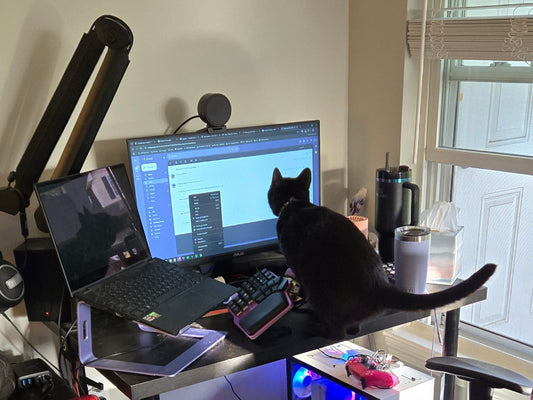
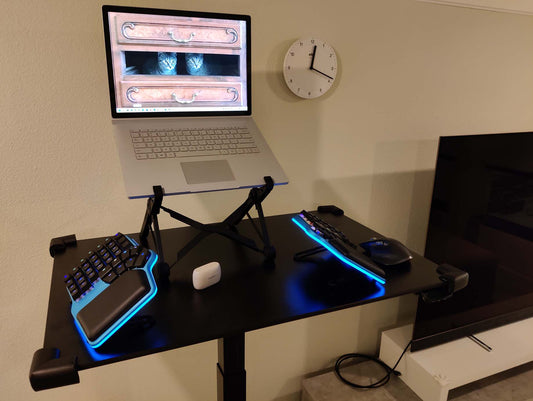
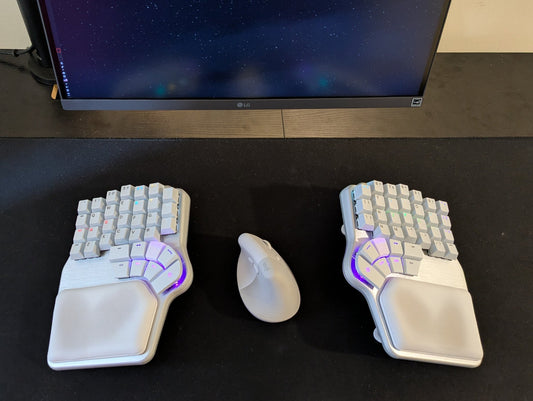
One last important benefit of split ergonomic keyboards as macro pads is that you can use just one half of the keyboard to leave more room for your mouse, trackpad or drawing tablet. Pretty handy!
If you had a keyboard like this, how would you customize it? Let us know what app you want us to do next. If your use Notion or Davinci, we've made similar videos, just check them out on our Youtube channel.
And, as always, if you have any questions, feel free to ask us on Reddit or Discord. Bu-bye!!!! 💜


