In the validation of the base of the Golden Prototype, we are testing a lot of different things: the sturdiness of the base material, the dimensions and fitting with the aluminium case, the mylar sticker, the rubber legs, and many others.
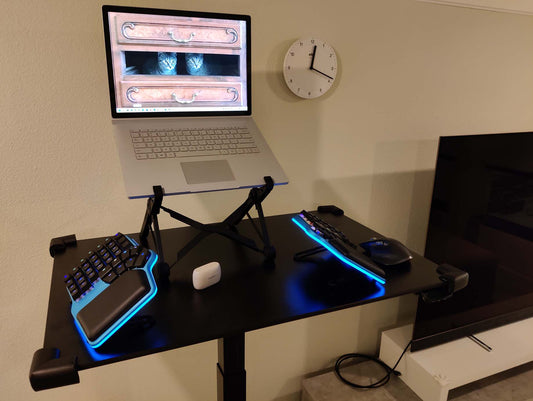
But the most important thing that we need to validate is the light underglow.
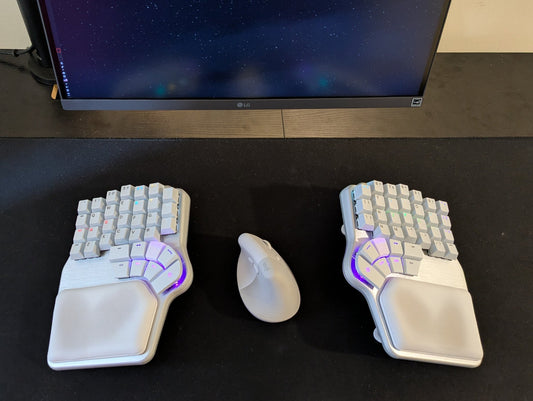
There are three main light sources in the keyboard: the light from the Huble, the backlight from the keycaps, and the underglow of the base.
Light pipe and diffuser
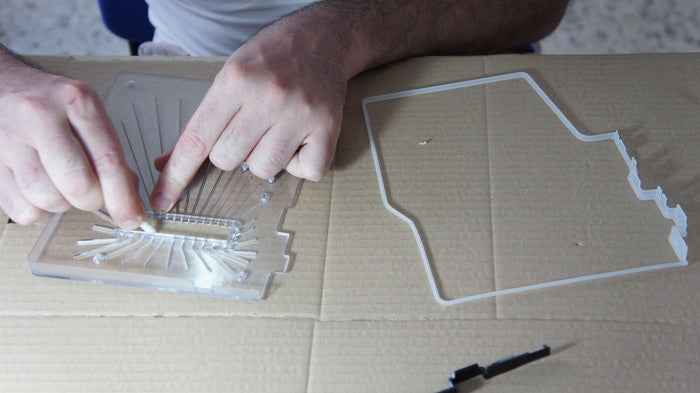
The base has a light pipe that is a transparent piece of polycarbonate. The main function of this part is to distribute the light evenly from the PCB to the perimeter.
Another important part of the base is the diffuser. The diffuser is a plastic piece wrapping around the edges of the light pipe. The main task of this piece is to diffuse the light so you don't see any light spots from the LEDs.


These two pieces, the light pipe and the diffuser, are the main pieces of the base.
We made a Golden Prototype glueing both with an optical glue. It was a difficult task but we needed to do this ourselves for this validation.
For the mass production of the Raise, it will be done differently in the factories.
Hiring a light expert
During the design process of this piece, we hired a consultant, an expert in lighting and light distribution. We did a 3D model of the base and a simulation of the light. Because of this simulation, we were able to achieve homogeneous light in all parts of the perimeter.

There were mainly two things we wanted to validate with the underglow of the base. It was the evenness and the intensity of the light. Both are very important.
All the simulations we’ve done are related to the evenness of the light. All the electronics, the choice of the LEDs and the LED driver, and the design of the PCB are related to the intensity of the light. Consequently, the user can control the intensity of the light they want.
The white box concept
To increase the light intensity inside the keyboard, we created a white box.
The mylar sticker that we are sticking to cover the bottom of the base has a white colour in the interior side and an aluminium/dark grey colour in the exterior. The PCBs are also in white. This means that we have two white surfaces surrounding the lights.

As a result, when the LEDs are turned on, the lights would bounce everywhere and get reflected to all the edges. This is a good solution for increasing intensity.
Validation success and next steps

We tested the base underglow and are happy with this design. We will go ahead with the molding of this piece.
The next steps will be to create the designs for the different light effects, colour, etc, but the most important thing is that we have achieved the intensity and the evenness we want.

Thank you for staying updated.
We will post more developments in the coming days. If you have any feedback or questions, please write them in the comments section below.


