Find your perfect setup
Shine bright with the Defy

If you purchased the wireless version, your first task will be deciding which wireless method you'd like use: Bluetooth or 2.4 Ghz RF
RF is for serious people only. Just kidding! But, if you're looking to play competitive games in which low latency is important, then switching to RF may be the right choice.
There's a small switch on the back of your Defy!

Connect the Neuron to the PC using one of the USB-C to C cables. If you don't have a USB-C slot on your computer, we have provided a USB-C to A adapter in your travel case.
It's as easy as plug & play! Now go slay 'em!
Bluetooth is the easiest way to connect your wireless Defy, It's suitable for the majority of tasks, not to mention- effortless.
There's a small switch on the back of your Defy!
There's a designated cozy spot for your Neuron on the back left side of your Defy. Make sure it's plugged into this spot and we're good for the next step.
Your Dygma Defy will begin pairing as soon as it's been plugged into the back, so go over to your computer and find the device named 'Defy BLE' then click to connect.
A number will pop up on the screen. Press those numbers on the keyboard and you're good to go.
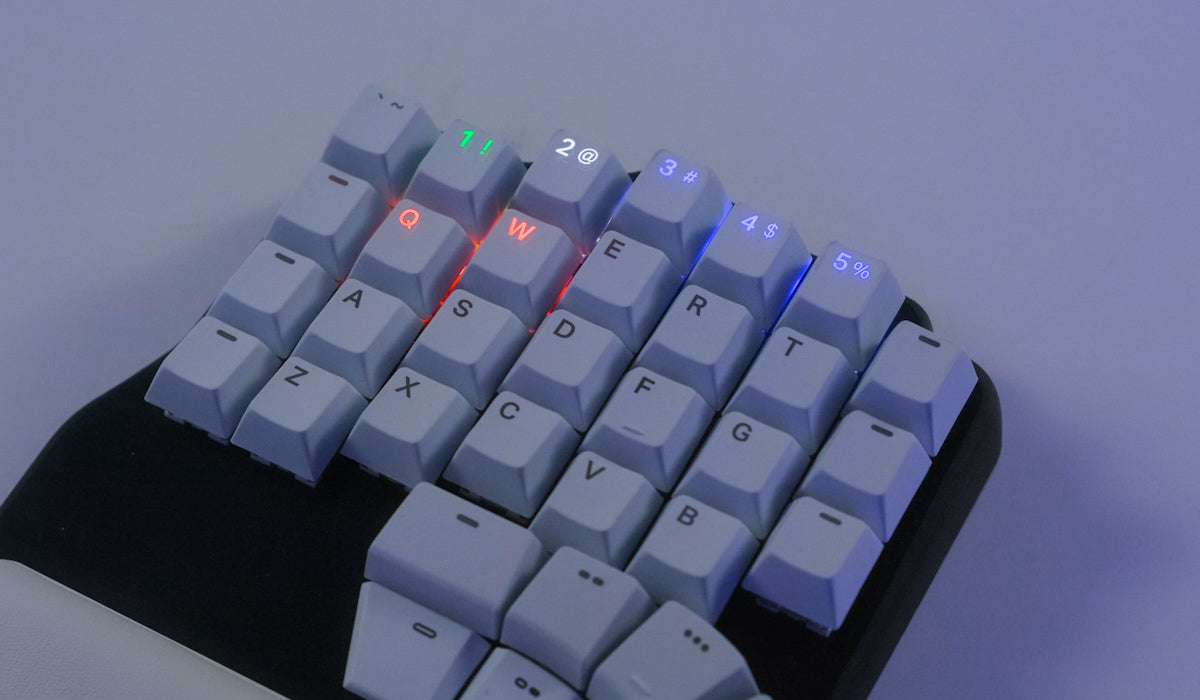
You can pair the Defy with up to 5 devices. Once you plug the neuron in the back of your keyboard, you'll see it change to BT pairing mode:
- Green means active channel
- White means assigned channel
- Blue means available channel
- Holding Red deletes the pairing on that channel
Press the desired channel to switch between devices or pair new ones.
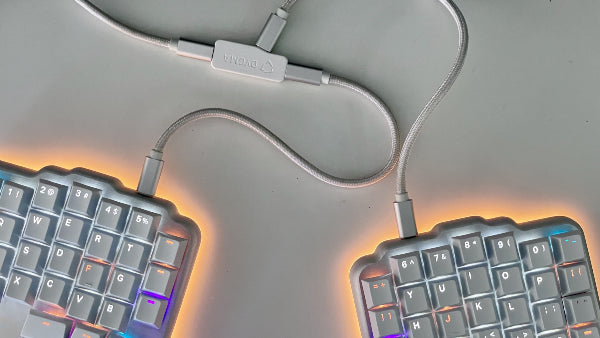
If you purchased the wireless option, you receive a different Neuron to the wired option. This is how you connect the wireless Neuron with cables.
If you have a wireless Dygma Defy, it's best to turn the sides off when using the keyboard wired.
Important, we recommend charging through your computer or using a 5V USB charger of no more than 10W (that's 2A at 5V). Using fast USB chargers or KVMs with a higher voltage or amperage can damage the keyboard.
If you purchased the wired version, the set up process should only take you a hot minute,

Connect the short USB C to C from each keyboard side to the Neuron. You can also use the longer USB C to C cable if you want to split your keyboard further apart.
Connect the Neuron to the computer using the long USB C to C cable. Make sure you connect the Defy directly to your computer. Avoid USB hubs and KVMs.
It's as easy as plug & play! Now go slay 'em!


Interact with the team, chat with other users, get quick help and participate in the creation of new exciting products!


