We hate tall keyboards.
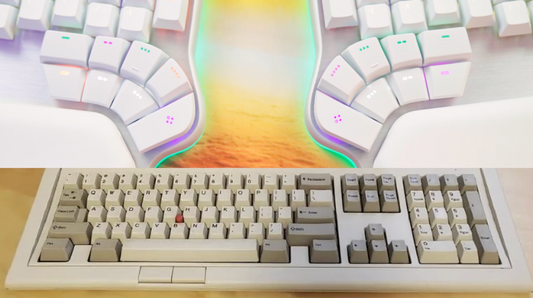
They are bulky and make your wrists bend.
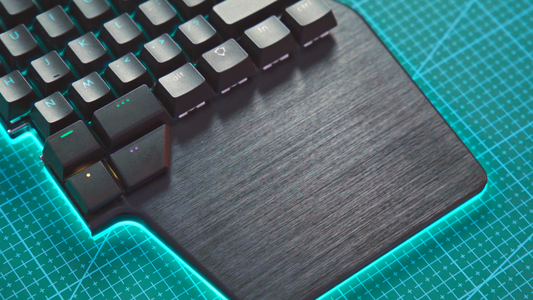
While designing the Dygma Defy over a year ago, we worked our asses to shave every millimeter possible and make the body just 19mm tall... and then, the keycaps alone added another 12 mm 🤦♀️
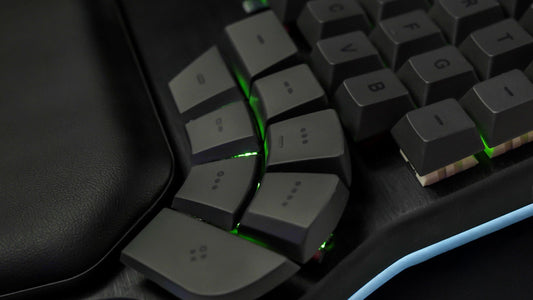
We could've gone with a low, flat profile, but in our experience, people find sculpted keycaps with different heights for each row more comfortable.
So, is there a keycap profile that is sculpted and loved by the community but significantly lower than OEM keycaps? Yes, there is: Cherry.
But there's a problem.
Our keyboard has north-facing switches. And a quick search on any mechanical keyboard forum will tell you that those two don't make a good match. That there's keycap interference.
The question is: is it that bad? And most importantly, can we make it work?
The Interference Test
Like the kids of science that we are, the first thing we did was test this.
We bought a lot of Cherry keycaps, put them in our keyboards and gave them to everybody in the office to use. Without telling them what to look for. Just try these keycaps.
Nobody- noticed -anything.
0 complaints about the feel or sound. So we moved on to other things, and the months went by... until you insisted.
It wasn't many of you. Just a comment here and there. Some of you even tested them and disregarded anything noticeable.
But we can't call ourselves keyboard enthusiasts if don't go head-first into every rabbit hole that opens in front of us. So we looked deeper.
What is Keycap Interference?
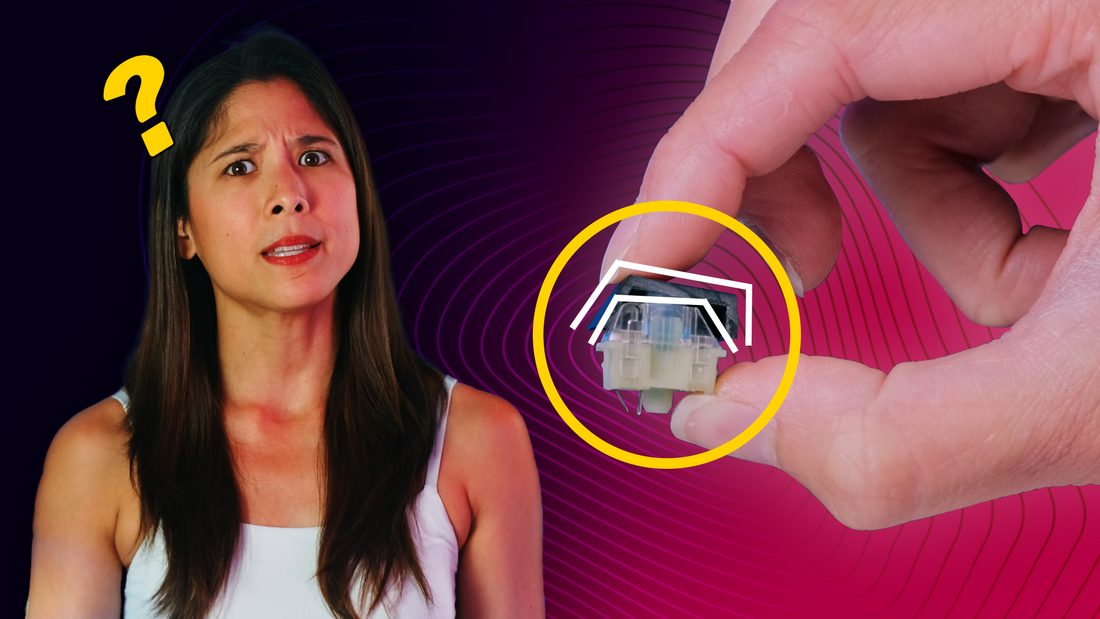
We cut open a bunch of keycaps and tested them with a bunch of switches. And there it was. Keycap interference. Keycap interference is when a wall of the keycap hits the top housing of the switch before the stem reaches the bottom of the shaft.
In other words, the keycap hits the switch before bottoming out, which produces two things: a different sound
and, for some users, a weird sensation on the fingertips.
But why does this happen? And why only with Cherry profile keycaps and north-facing switches?
Keyboards with north-facing switches are those where the LED is at the top. While on keyboards with south-facing switches, the LED would be at the bottom.
The thing is that Cherry profile keycaps were designed for South-Facing switches. Their shape follows the slope of the switch. That way, there's always space between the walls of the keycap and the switch.

If we turn the switch around and place it North-Facing, you can see how the slopes don't match. Now when I press down, the South-Facing wall hits the housing before bottoming out.

This only happens with Cherry profile keycaps and not in other profiles like OIM or SA because those are much taller. So there's still space between the keycap and the switch, even if the slopes don't match.
It's also important to keep in mind that this doesn't happen with all switches either.
Many common switches present this issue, including a good part of our roster, like Cherry MX Blue, Brown and Red, Kailh Speed Copper and Silver, and Kailh Box White.

But not all.
For example, Kailh Silent Pink or Brown switches have a very steep slope on both orientations, so there's no interference at all.

Gateron Yellow switches have a rounded top housing that also prevents interference.
Only if you press the keycap off-center could you hit the switch.
There are many other switches with no interference, such as Holy Pandas, Salmons, Huskies or Akko Silver Switches.
These switches have a longer stem that creates additional height that helps avoid collision.
Ok, ok, but is keycap interference that bad?
In all our testing, nobody has ever even hinted at it. But the truth is, once you know, you can notice it.
Like when your partner makes a bit of noise while chewing, and you can't think of anything else.
It's not something you could tell apart in a blind test, but if you pay close attention when you bottom out, you can feel a minor instability as the keycap hits the switch. It's not as stable as when the stem reaches the bottom of the shaft.
However, what you're more likely to notice is the difference in sound.
Then, why the heck did we choose north-facing switches and Cherry profile keycaps for the Defy?
Short answer: Backlight and ergonomics.
Most keycaps have legends on the top half of the key. North-facing switches allow the light to shine through from the top in the brightest possible way.
South-facing switches, on the other hand, can create dark spots in some legends, even if the legends are placed at the bottom of the keycap.
That's because due to the shape of the keycap –the bottom wall is less sloped– the legend can't be placed exactly on top of the LED.
And, as you see, they tend to leak light at the bottom of the keycaps.

All right, we get it, north-facing switches are a must. But then, why didn't we go with OEM keycaps?
You see, the thinner a keyboard is, the easier it is to keep your hands aligned with your forearms -avoiding wrist extension– and your forearms parallel to the floor.
On Row 4 –the top row– an OEM profile keycap is 11.9 mm tall, while Cherry is only 9.4 mm. That's 2.5 mm!

We've worked our asses to shave half a millimeter in the body, so 2.5 mm on the keycaps is A LOT.
Solving keycap interference
From a purely theoretical approach, the simplest way to solve keycap interference would be to change the shape of the switches so they don't collide. Make all of them like Kailh Silent Pink and Brown with their steep slopes.
That would be ideal, but we're not switch manufacturers –for now– so this isn't in our hands to implement. YET (look side was to another camera).
So, if we can't change the switch. Can we change the keycap?
Our first thought was to CNC and indent the south wall of the keycaps so it didn't hit the top housing.

But as our supplier pointed out, doing that for hundreds of thousands of keycaps was gonna cost a fortune. And it could affect the rigidity of the keycap.
Ok, but what if we made the keycaps sit slightly higher? Like those switches with longer stems?
That was our next approach.
First, we thought about modifying the mold to make the stem of the keycaps 0.8 mm longer.
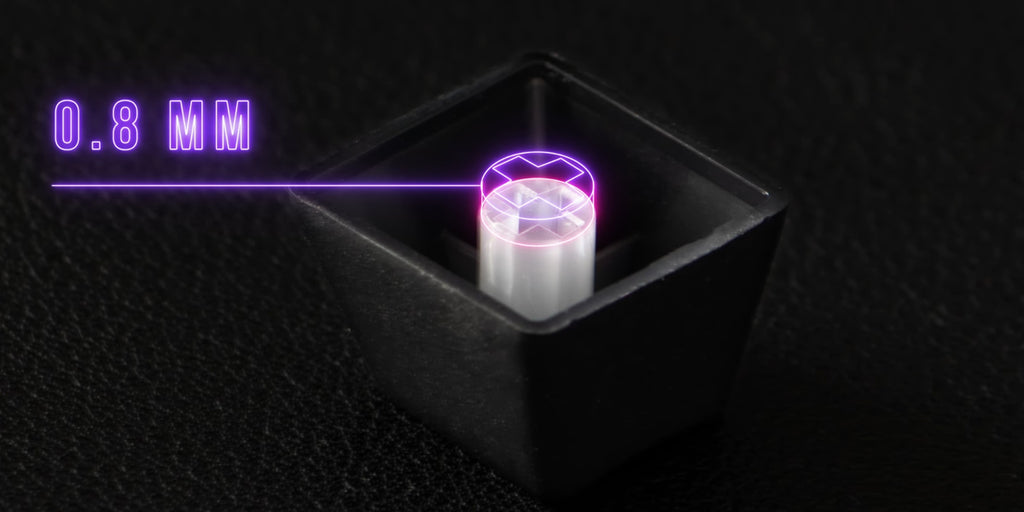
This avoids any kind of collision while still saving 1.7 mm compared to using OIM profile keycaps.
But the mold is not ours, and our supplier didn't like the idea of having to change their mold just for us. They'd still need to use that mold for other customers. And they might not want Cherry keycaps that are slightly taller.
Our next idea was to design little pieces of plastic that would go inside the stem of the keycap. That way, when you place them on the switch, the keycap would sit higher and avoid collision.
However, this solution presented one big problem. Those pieces of plastic had to be very precisely manufactured and put in place. Any difference would make each keycap sit at different heights. No bueno.

What if we could supplement the height of the keycap without actually modifying the keycap? That's something the community has been doing with makeshift washers.
That's another thing we tried. By placing washers on the switch stem, you actually supplement the stem of the keycap, making it sit higher and avoiding collision.
And since the washer is rigid, the sound and feeling stay the same.
The problem with these washers is that they are not so easy to come by –they always seem to be out of stock– and, most importantly, they are very difficult to put in and remove from box switches.
But this solution felt like it had potential. So, us being us, we engineered our way out.
We designed our own washers with a clove leaf shape and an open end. That way, they're easy to place and remove from any kind of switch.

We had to create a new mold for them, but it's totally worth it. They'll be 0.8mm thick to guarantee there's no collision, regardless of the switch you have.
And, very importantly, that shape gave us the chance to paint them green and call them lucky charms! Although we also like to call them Broccolis. Because you might not like them, but they're good for you.
We want to fix keycap interference once and for all. We want to be able to use Cherry profile keycaps without adding that 0.8 mm in height.
So we're also working with our keycap supplier to modify their ABS Cherry profile mold.
The problem with our previous idea to change the mold was that it increased the length of the stem, therefore increasing the height of the keycap.
The supplier didn't like that because he uses that mold for many customers.
What we are working on now is reshaping the south-facing wall of the keycap to avoid any collision. It'll be slightly thinner in some areas without affecting the keycap's integrity, opacity, or sound.

That way, we solve the interference, and the keycap still works for any customer. Even better, these would be the only Cherry profile keycaps compatible with north-facing switches out of the box. It's a win for both of us. And they're in.
However, convincing our supplier was the easy part.
Redesigning the keycap mold is a complicated project. To make the wall thinner, you need to add material to the mold, which is much more difficult, especially when it's such a micrometric adjustment.
And you also need to ensure that the plastic injection flows properly. It doesn't like narrow places. Otherwise, it could lead to unexpected anomalies in that wall.
Conclusion and goodbye
We're working on these keycaps for future batches of the Dygma Defy. We think the lucky charms are a great solution, and we didn't want to delay shipping the keyboard any further.
Of course, we'll apply a similar solution when we finally design and manufacture our own Cherry Profile Double-shot PBT keycaps.
You made it clear that you want PBT keycaps.
