Ergonomic keyboards are a double-edged sword.
On the one hand, they can enable a setup that transforms how you work or game in ways you never imagined.
On the other hand, they can be overwhelming at first, to the point where you might start reconsidering your life choices.
But don’t worry. Today, we’re going to walk the walk together.
From newbie to nuts, here are 6 ways to set up your ergonomic keyboard at every step of the journey.
Step 1: Take It Easy
Rome was not built in a day.
If you’re new to split ergonomic keyboards, the best thing you can do is start simple.
At first, place the keyboard halves close together, slightly angled inward.

Keep them like that until you get the hang of typing on a split keyboard.
Maybe you’ll try to press B with your right hand or Y with your left.

That’s fine. Your brain will rewire that soon enough.
The goal at this stage is not to create the most ergonomic setup possible from day one. The goal is to make the transition feel natural enough that you actually stick with it.
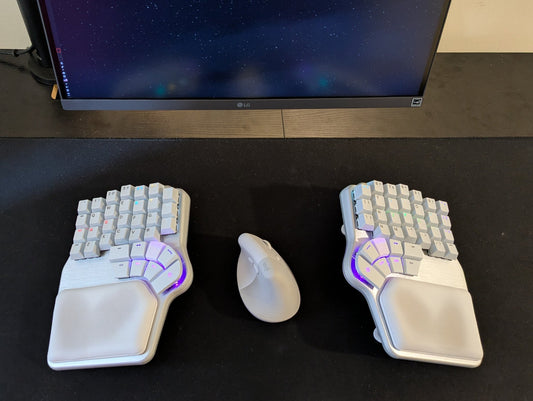
Step 2: Find Your Width

Once you’re used to your split keyboard, it’s time to start spreading the sides wider apart. The goal is to find the width that feels comfortable for you.
For some people, that means placing each half roughly at shoulder width.

Others prefer to keep the keyboard a bit closer together.
A good approach is to spread the halves further apart, little by little, until it no longer feels more comfortable. That point is your limit.

With a split keyboard, there is no universal perfect width. The best setup is the one that helps your shoulders, arms, wrists, and hands feel relaxed while typing.
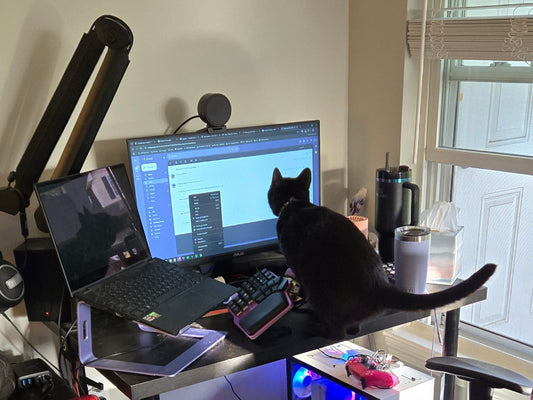
Step 3: Move the Mouse to the Middle
As you spread the keyboard halves apart, your mouse, trackball, or trackpad may start to feel a bit too far away.

That’s when it’s time to try placing it in the middle.
This is one of the biggest advantages of using a split keyboard setup. By creating space between the two halves, you can place your pointing device closer to your body instead of reaching out to the side all day.

For users who rely heavily on the mouse, this can be a game-changer.
It can help reduce discomfort from reaching for the mouse and working in an awkward posture for hours on end, especially around the shoulder blade area.
If your mouse feels too far away, moving it to the center is one of the simplest ergonomic changes you can make.
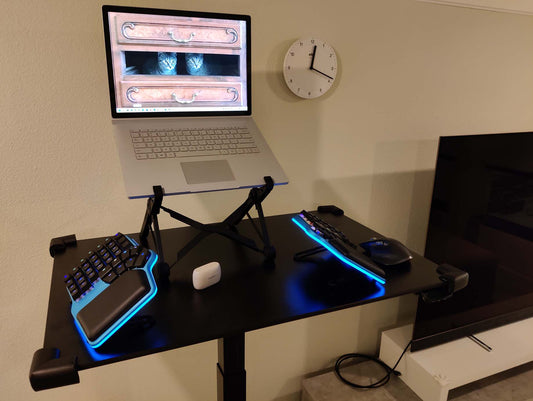
Step 4: Let’s Tent It Up
Now it’s time to take it up a notch with keyboard tenting.

Tenting means rotating each side of the keyboard upwards.
If you have wrist or arm pain while typing, tenting is likely one of the most beneficial ergonomic keyboard features for you.
As you rotate your arms outwards, you can alleviate the tension caused by hand pronation, which can pinch the muscles of your wrist.

Again, the best recommendation is to start slow.
Begin with small angles, like 5º or 10º, and increase from there only if it feels better. As you increase the angle, you’ll notice that your hands move up too. So you need to adjust your posture accordingly, or the setup can become uncomfortable.
That means you may also need to adjust your chair and sit higher, so your arms remain aligned with the keyboard.

Once you reach higher tenting angles, you might also find it more comfortable to bring the keyboard sides closer together and move the mouse outward again.
Step 5: Try Reverse Tilting
Another ergonomic adjustment you can try is reverse tilting.
Reverse tilting is when the front of the keyboard is higher than the back.

This can be especially useful if you are very tall, sit very high, or use a standing desk.
The purpose of reverse tilting is to help keep your hands aligned with your arms and avoid excessive wrist extension.

In a traditional keyboard setup, many people end up bending their wrists upwards while typing. Reverse tilting helps counter that by creating a more neutral typing angle.
Like with tenting, the key is to test it gradually and stop where it feels comfortable.
Step 6: Go Wild
Once you’ve mastered the basics, it’s time to go wild.
With a set of articulated arms, you can explore the limits of how an ergonomic keyboard can transform your setup.

For example, you can combine tenting and reverse tilting, place the keyboard at desk height, or even position it under the desk.

You can also attach the keyboard to your chair's arms.

From there, imagination is the limit.
This is where ergonomic keyboards become much more than just keyboards. They become a way to rethink your entire desk setup around your body, instead of forcing your body to adapt to the desk.

And that’s it.
That’s a taste of how an ergonomic keyboard can transform the way you work and game. Of course, you don’t have to go this wild; you choose where to stop.
The goal is to be comfortable, not to have the wildest setup.
But of course, we’d love to hear from you: How do you use your ergonomic keyboard?
Join the discussion on Reddit or Discord and share your thoughts.
See you there 💜