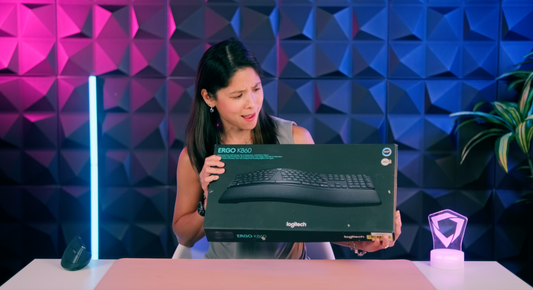
We are very excited about the development that is underway on the project. We want to share with you some updates from our product design team.
We hope you like it!
Here are the list of updates on the product:
- New Advancements in the Huble Design.
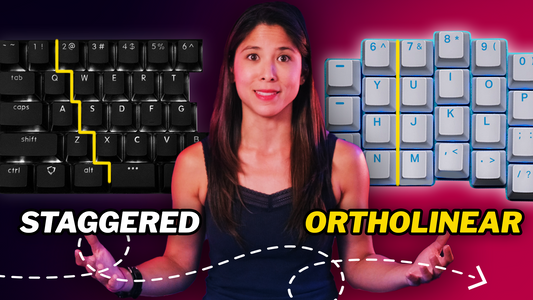
- How We Are Connecting the Split Keyboard
- Tenting of the Raise Keyboard
- Underglow: How To Get The Perfect Blend
New Advancements in the Huble Design
In the last video, we discussed the different shape designs we would use for the Huble.
Now, we have created a new shape that is more curved and smaller; and fits better with the cables.
The Huble has:
- 2 USB-C ports to attach the cables connecting to each keyboard.
- 1 USB-C port to attach the cable to the computer.
- An extra USB port at the back.
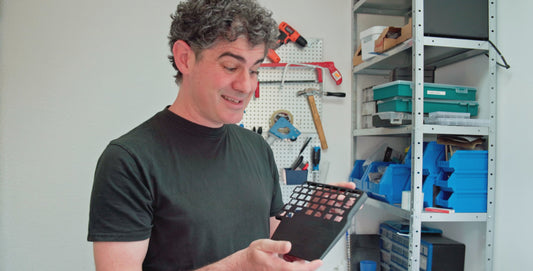
 Prototype of the Huble[/caption]
For the Huble’s finishing, we have used the same material as the keyboard. We can have 2 colour options: dark gray and silver.
How We Are Connecting the Split Keyboard
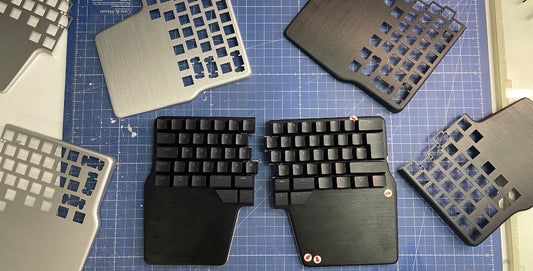
[caption id="attachment_16524" align="alignnone" width="1024"] What connects the split keyboard together[/caption]
Like all keyboards, its body is full of electronics. This is a challenge for us to create the crucial part that joins the 2 keyboards together. It has to be a resistant and strong piece because it will enable both keyboards to connect. It needs stability.
We are working with a unique shape that uses magnets and different metal fittings.
[caption id="attachment_16525" align="alignnone" width="1024"] Aluminium connector[/caption]
In our first keyboard, we already used a metal connector, but it was not as resistant as how we wanted it. We felt that we could improve this design to build a better product.
We had worked with an aluminium connector, but it was not resistant enough. We concluded that aluminium wasn’t the right material for this important piece.
We then moved to a nylon material, a technical plastic that is good for assemblies.
We have started prototyping the piece using 3D printing. But we continue to talk and discuss options with specialised mechanical engineers. We want to guarantee that we create the best solution for this part of the keyboard. :)
Tenting of the Raise Keyboard
Tenting is the inward inclination of the keyboard. This is an ergonomic design that is good for your wrists when using the keyboard for long periods of time.
We are working on various ideas to get the right design for the Raise keyboard. We want it to have an adjustable tenting feature.
[caption id="attachment_16527" align="alignnone" width="1024"] Mock-up of the tenting feature[/caption]
Our last idea was to create a plastic piece underneath the keyboard. With this piece, you can adjust the height of the tenting you want by moving it sideways. You can use this plastic piece vertically or horizontally.
This is one of our latest ideas but we would be like hear from you. Do you have any feedback about the different tenting solutions you know? And is tenting important for you?
Underglow: How To Get The Perfect Blend
We have been working on the evenness of the Raise’s underglow lights .
We had found some much more powerful sideways-mounting LEDs. This is a big accomplishment for us. This will allow us to continue with the light pipe idea.
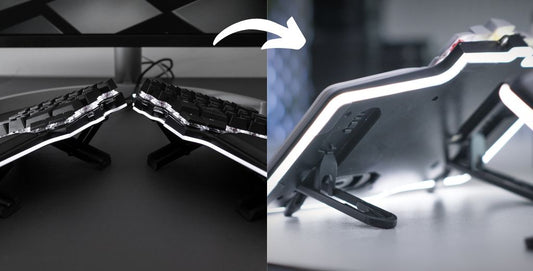
[caption id="attachment_16526" align="alignnone" width="1024"] Mock-up of the underglow base[/caption]
We also found the optimum length of the canals to prevent the light from mixing too early, but allowing it to mix early enough around so we get a good blend.
The next thing we need to do is make a version of the underglow PCB that we can control with the existing LED controller.
We have worked hard to make sure the design and features of the Raise meets the needs of our customers. We will keep you posted on our developments! At the same time, we would appreciate your feedback and comments as we move forward.
FOLLOW US (AND DON’T MISS ANY OF OUR AWESOME CONTENT!)
Youtube